
|
 |
||||
I had a pretty good night on the project! It doesn't look like I did much but I actually made quite a bit of progress - I definitely increased the building to head scratching ratio tonight. I started out by making the fuel tank stiffeners. I cut them from the long pieces that they come in with the aviation snips without hassle. Here is a shot of before, during and after the cutting of the stiffeners. 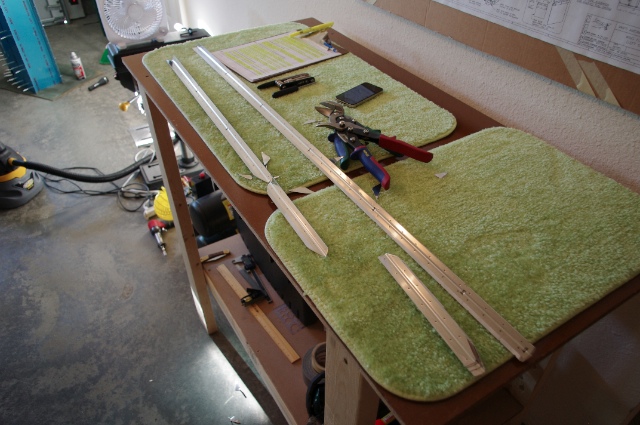 Once I had them rough cut with the snips, I fired up the old bench grinder. The last time I made stiffeners, it took forever and was a huge pain because I didn't have a bench grinder and had to file them all down by hand. With the bench grinder with a grinding wheel and a scotch-brite wheel, I was able to finish up the stiffeners in slightly over an hour. If I were doing this by hand again, it would have probably taken about 4 hours. What a terrific tool to have! Once the edges were all finished up I moved on the clecoing them to the tank skin. In the instructions you do this when the ribs aren't installed but I already had the ribs in there so I gave it a whirl. Turns out it's pretty easy to cleco in the stiffeners with the ribs in place. Much easier than it would have been to remove the ribs and then put them back in anyway. 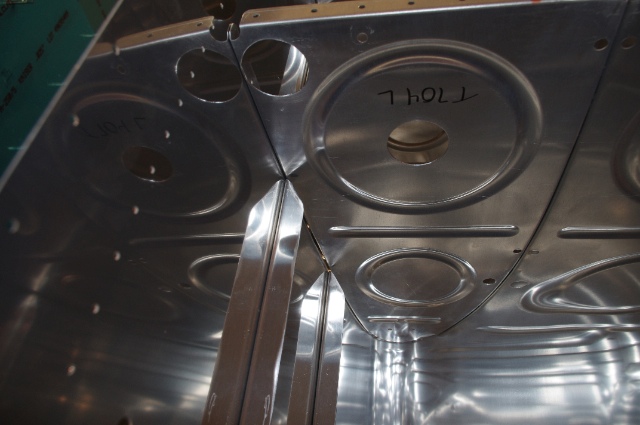 With that being done, I moved on to match drilling everything. I went ahead and clecoed on the baffle to the tank and then drilled from baffle to rib, then I drilled all the stiffeners to the skin, then the ribs to the skin, and finally the skin to the baffle. That's correct, I just enlarged about 300 holes in my gas tank... Here's a little action shot. 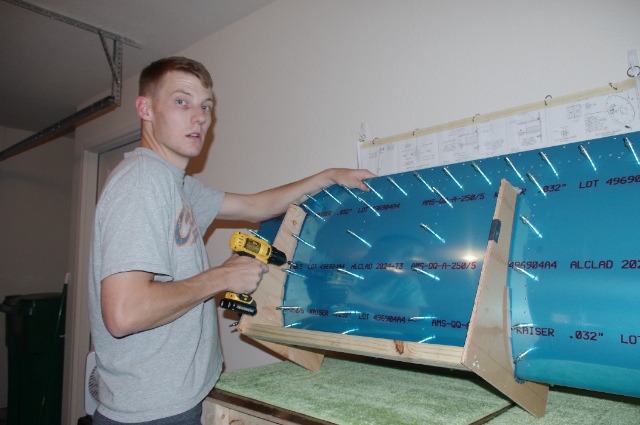 I happened to notice the nice sunset on the gorgeous night we were having. I actually felt a little bit of crispness in the air.  After the tank was all drilled, I put both the leading edge and the fuel tank back on the spar and drilled where the tank skin fits to the leading edge on the attach plate. Still the perfect fit! 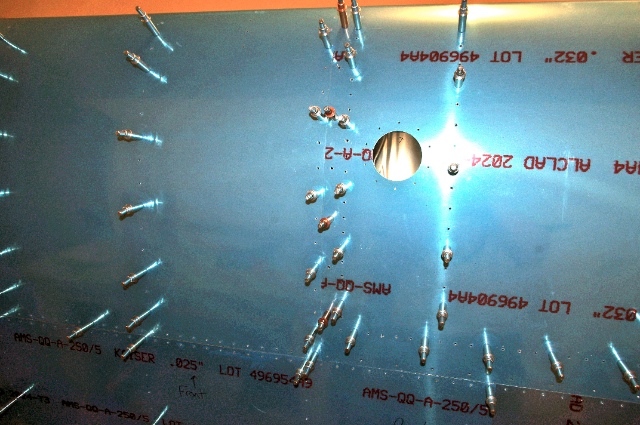 Finally, to end the night, I took the tank back off the spar, deblued the aft edge of the tank where it attaches to the spar, drilled the spar tank attach screw holes to final size, and then countersunk all the holes that attach the tank skin to the baffle. You countersink here instead of dimple because it makes the baffle easier to get in when you seal up the tank for good. All I can say is I am really glad that there aren't nutplates associated with these 132 countersunk holes in each tank! 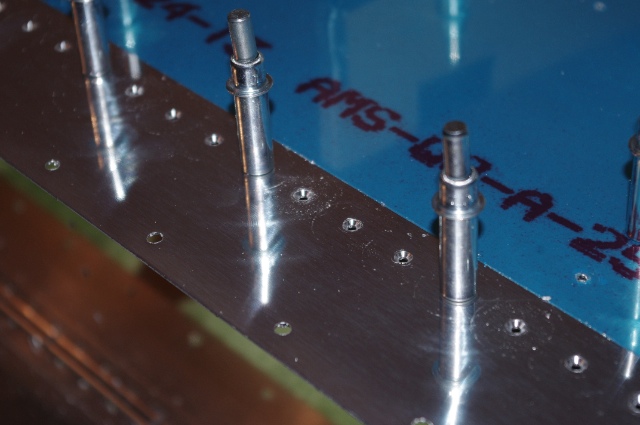 Overall a great night of work! Not many visible advancements but major progress nonetheless. Tomorrow I will take apart the left tank that I did tonight (I still don't have enough clecos to do both at the same time and I have 500. Ok, 499. One cleco died in the making of this tank.) and repeat the process for the right tank.
|
|||||
| Thanks for visiting! | Last Update: 25 May 2012 |