
|
 |
||||
Today was the first big day of assembly on the project. After all the time spent cleaning up the parts yesterday, I primed them today. I'm taking a pretty basic approach to priming. I put the parts on a piece of cardboard, walk out the front door, give them a quick shot with the spray can primer, flip the parts over, get the other side and then take them inside to dry. Drying takes about 5 minutes so I got that going for me, which is nice. Here are all the ribs and stiffeners primed and ready for final assembly. 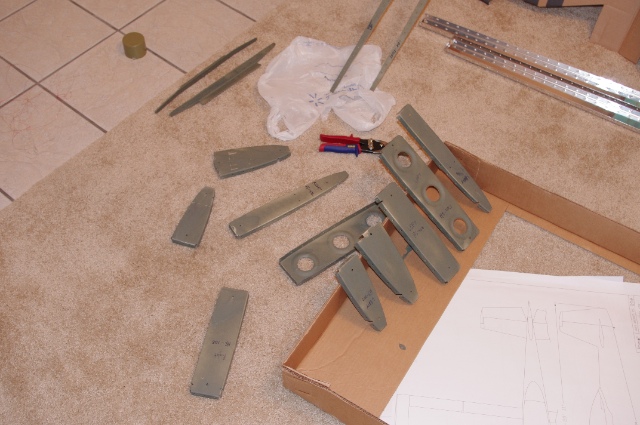 First off I riveted the HS rear spar stiffeners to left and right rear spars and also put on the hinge brackets. The great thing about squeezing rivets is that once you get the gap set, you can move quickly and precisely but it is a pain when the rivet length changes. Here is the spar finished up. 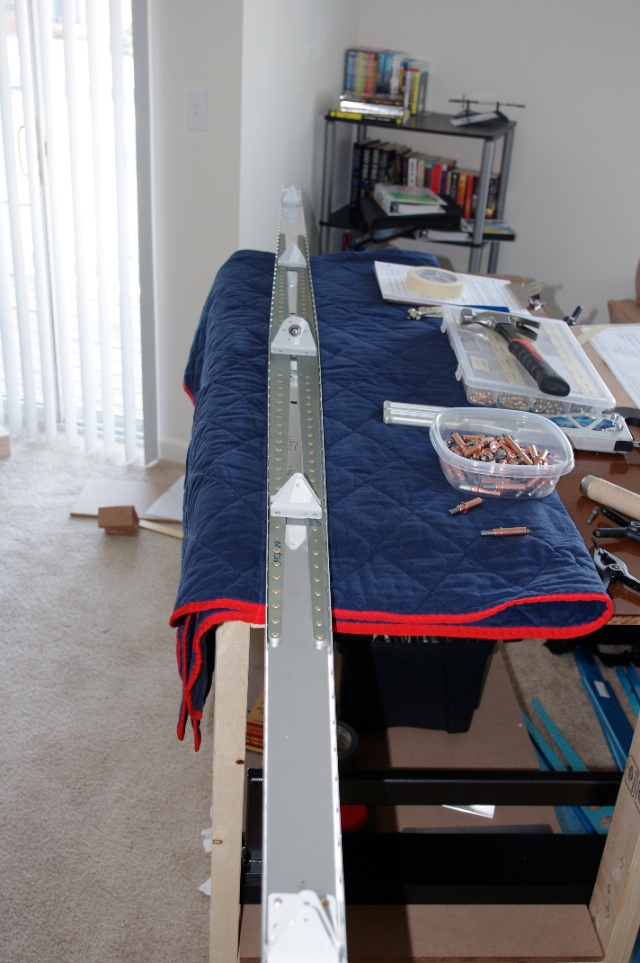 Next on the agenda was dimpling the skins. To dimple the skins you have to use the C-Frame. It's pretty easy but is very loud when you use a metal hammer. I kind of wonder what the down stairs neighbor thinks of this, or if he can even hear it? 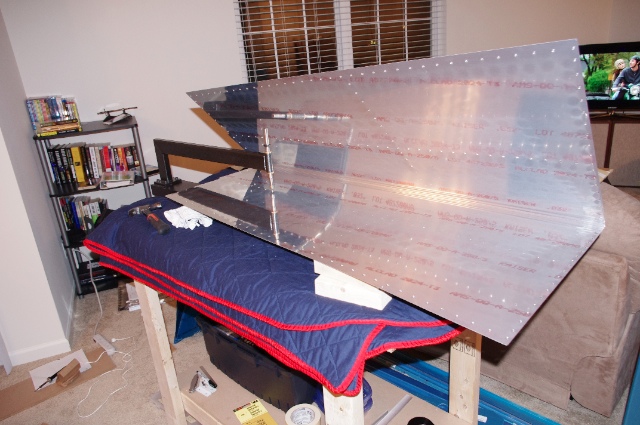 After the nose rib is in, slide in the rest of the HS skeleton except for the rear spar which includes the front spar, root and tip ribs. Cleco those bad boys in and then flush rivet from the middle of the front spar out to the tip, then in towards the root. 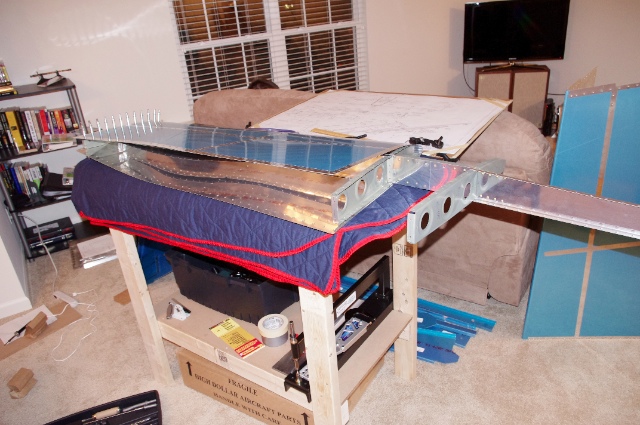 The first rib that you rivet in the nose rib in the middle of the skin. This is a little precarious because you have to reach in with the bucking bar and still hold the gun with the flush set in it on the outside. Kind of nice to be 6'4" with the accompanying long arms at this step I guess. To get the skin to fit the curve of the rib, cleco all the holes in it except for the hole closest to the leading edge and then set that rivet first and work your way back. Here is what it looks like with just the nose rib in. 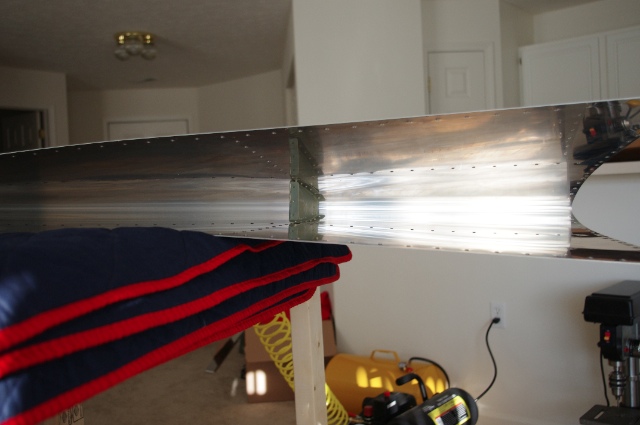 Once that is done flip it over and do the other side of the skin, then throw in the middle rib and rivet that bad boy in there, too. Overall I made a lot of great progress tonight and it's cool to have stuff that looks like real airplane parts that are together for good!
|
|||||
| Thanks for visiting! | Last Update: 25 May 2012 |