
|
 |
||||
So today I had planned to test the right tank for leaks and finish up the left tank. By the end of today, I had managed to procrastinate again on finishing the left tank, but I did get the right tank tested. To start, I went to Home Depot because I wanted to make a manometer to test the tanks instead of using a balloon and eyeballing its size to see if the pressure in the tank dropped. Here's my completed manometer. Total cost of this bad boy was $9! See the 2x4 that I used as a back for the tubing? I got that little gem for free! I noticed it in the pile of scrap beneath the big saw in Home Depot and they said I could just have it; saved me from buying and cutting up a 2x4. The tubing is 10' of 3/8" inner diameter and 1/2" outer diameter. It connects to a piece of 3/8" copper pipe that I flared so I can use my spare AN hardware to connect it to the fuel pickup. I connected the pipe to the tube with two small hose clamps. Each leg of the "U" in the manometer is about 3'. 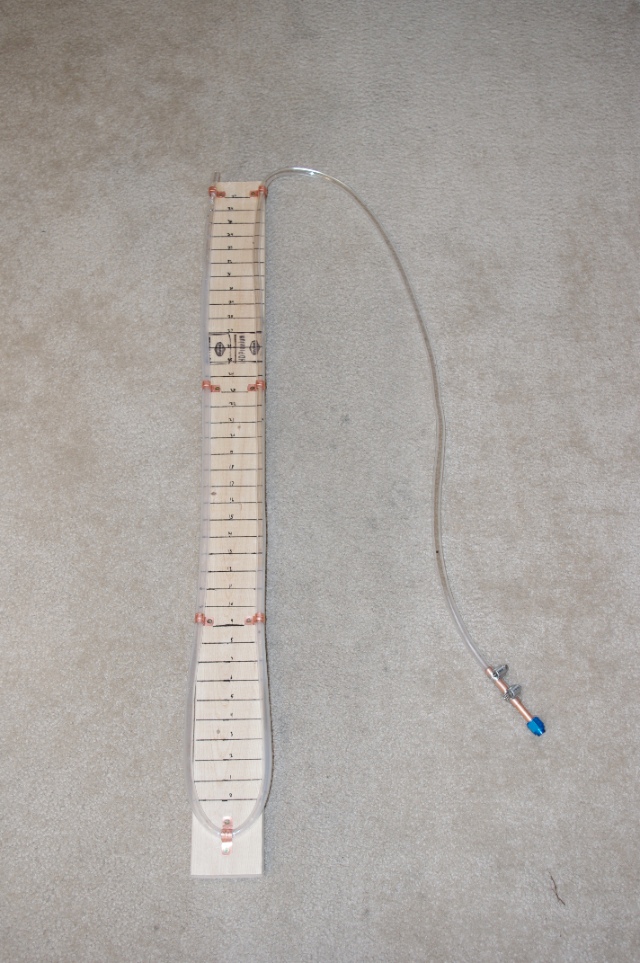 Here's how I attached the tube to the board. 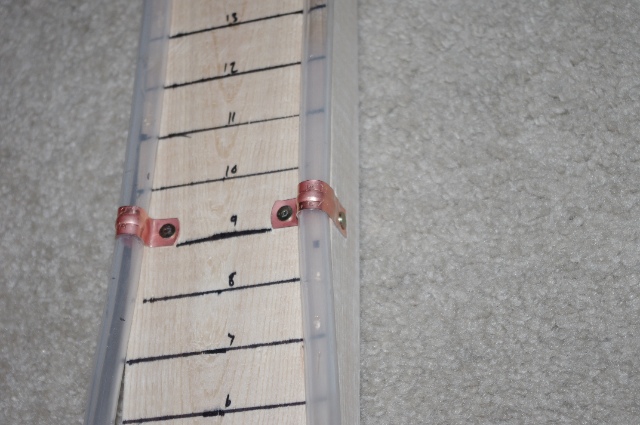 And here's how it connects to the tank. I stole this design from Mike Bullock (www.rvplane.com). 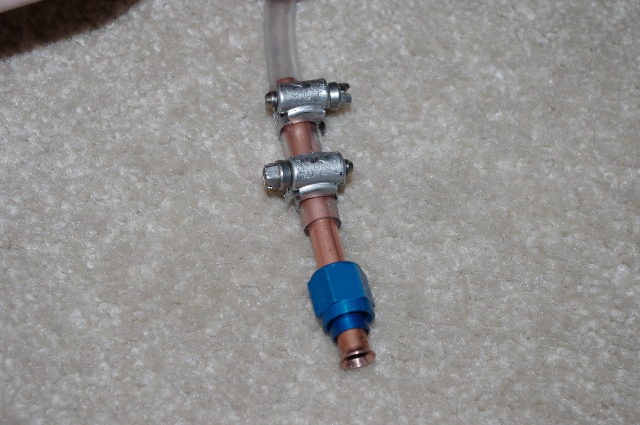 With the manometer constructed, it was time to see if I had leaks. I connected it up to the tank and pumped it full of air using a bike pump and the valve that plugs into the drain that I got in Van's tank testing kit. The water level immediately started falling at about 1" per minute which meant I definitely had leaks... I got the soapy water out put some on all the rivets. I didn't know what a leaky rivet would look like so I was inspecting ever so carefully for the tiniest of bubbles coming up. Well it turns out it's pretty obvious when one leaks. I checked all the rivets and only found this one: it's a skin-to-baffle rivet so it will be really easy to drill out, seal and reset. 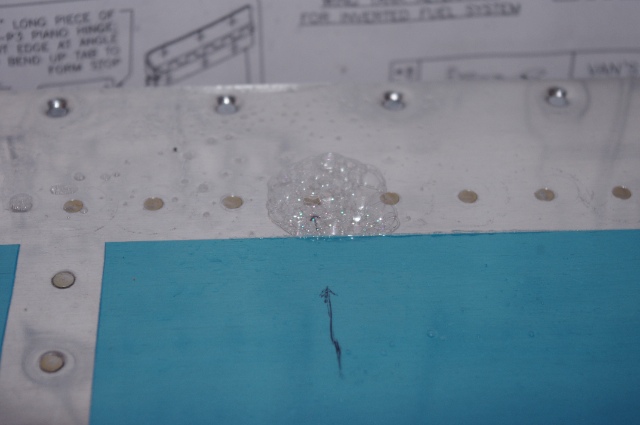 I put some duct tape over the rivet and then refilled the tank with air and it still leaked just as quickly as before. I rechecked every rivet again and none were leaking. I rechecked the end ribs and they were solid. When I tested the end ribs though, it was standing on its end so I really only checked where the connectors in the end ribs actually contact the ribs. This means I missed a leak in my manometer connection. I fixed that and then on an inkling checked the bike pump valve. Sure enough, it was leaking too. 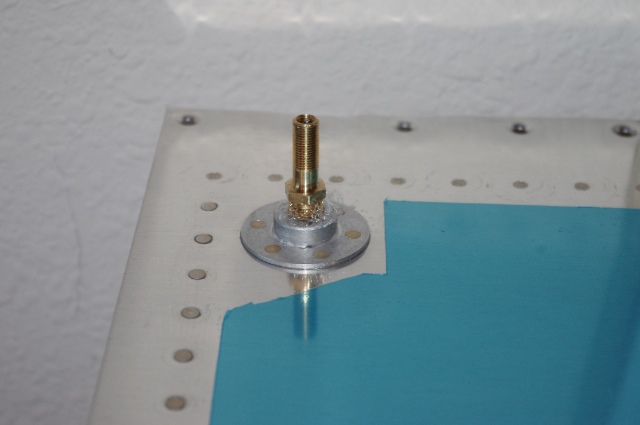 With the plumbing no longer leaking, I filled the tank once again with air and it still dropped, but much more slowly this time. I was stumped because literally every rivet had been checked (twice) and only one had been found to be leaking. Anyway I checked again. Guess what, still only one leaky rivet. Guess what else, apparently duct tape does not hold pressurized air... 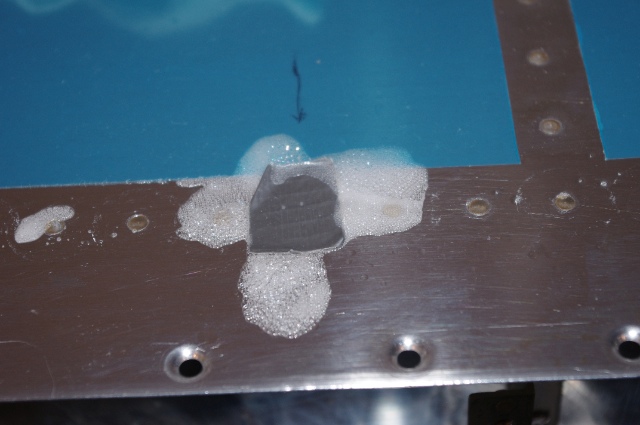 I covered the leaky rivet with mailing tape and tested the tank again. This time it held air the best it had yet but the water still fell about 1" over a few hours. I still think it's leak free because the temperature in the garage dropped about 15˚ and the barometric pressure was on the rise, both of which will cause the water height in the manometer to drop. I'll fix the leaky rivet and check tomorrow before declaring this tank officially leak free and done.
|
|||||
| Thanks for visiting! | Last Update: 25 May 2012 |