
|
 |
||||
A lot of good progress today on the project and what's more it was visible progress so it's a morale booster too! To start the day, I finished dimpling the left leading edge skin. Then I made a nutplate drilling template to locate the rivet holes on either side of the screw hole. Here's what it looked like. 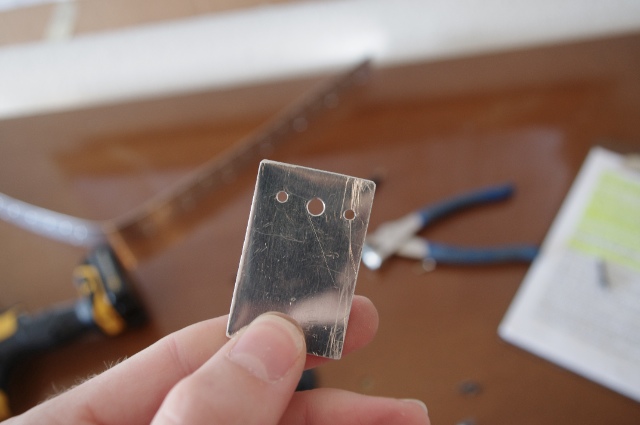 To use it, I just put the black cleco in the screw hole, drilled one of the rivet holes, put a silver cleco in it, then drilled the other hole. Worked like a charm. 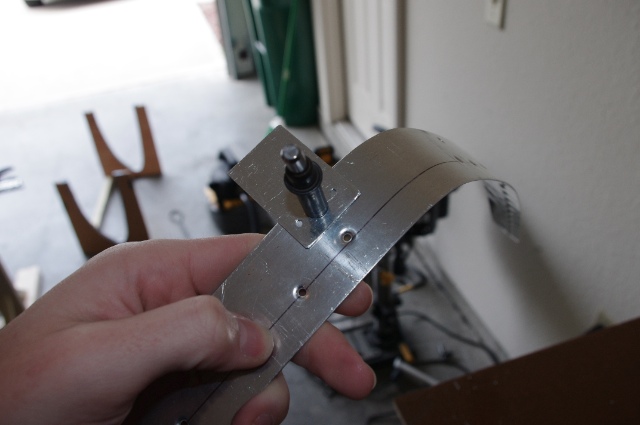 I finished drilling the holes, then deburred them, dimpled them, dimpled the nutplates, and primed the joiner plate and the left leading edge ribs. Here is the joiner plate after priming and riveting on the nutplates. 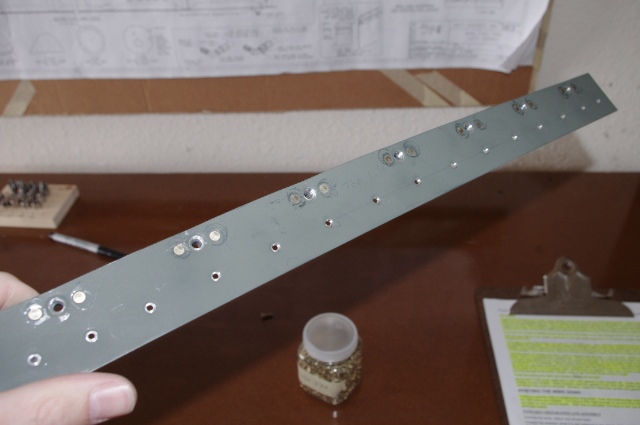 Next, I clecoed the ribs and the joiner plate into the left leading edge skin and riveted them in. 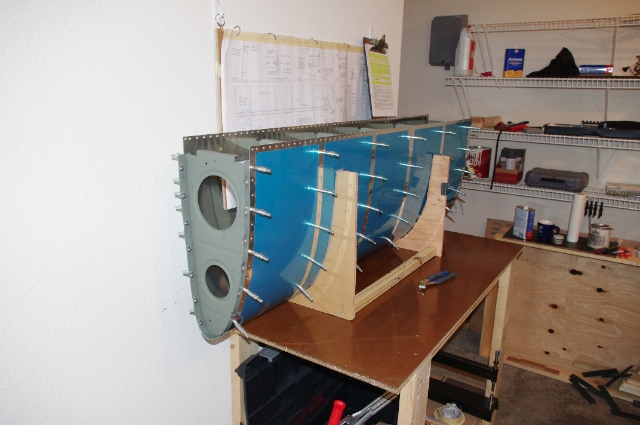 I riveted them laying down in the cradle like you see here. The bottom is all done in this picture. I started with the bottom so if I messed up before I got my knack back, it would be less visible on the bottom of the wing... 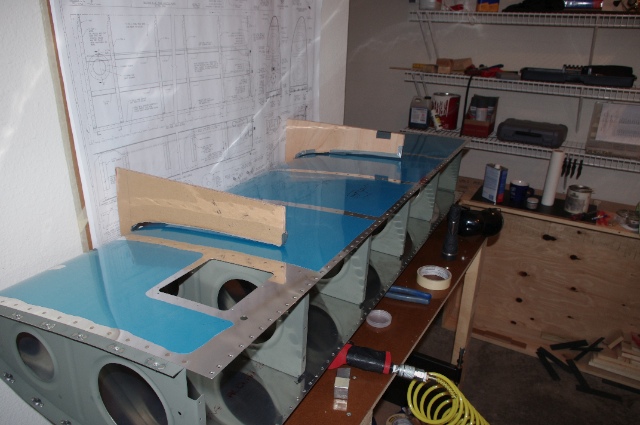 The good news is: I didn't mess up. In fact, these are my smoothest driven rivets to date, they came out awesome! The bad news is: I don't have any bad news to balance this cliche statement... 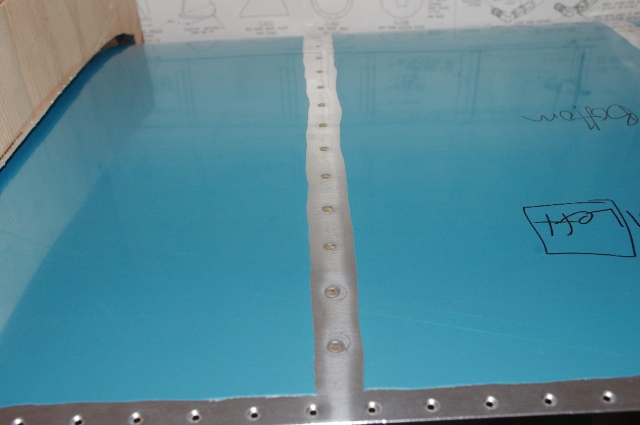 Anyway, I finished up riveting the left leading edge and then had to put it on the spar to see how it looked. It looks great and fits even better. I was a little worried about the fit between the leading edge and the tank on the joiner plate. This was not a problem at all; it fit impeccably well! 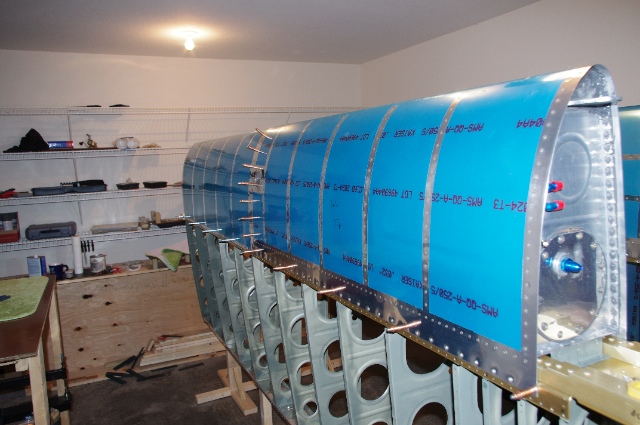 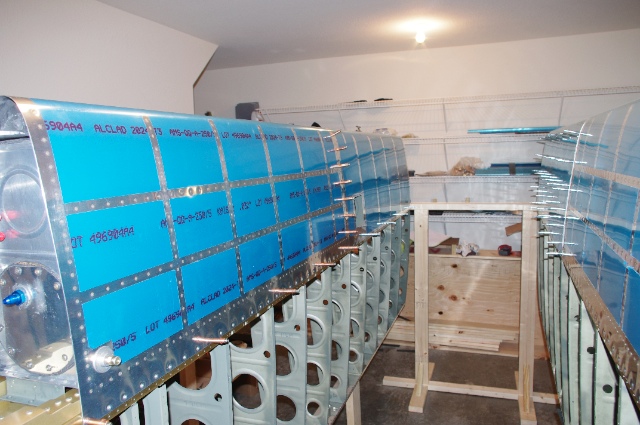 Here's the joint between tank and the leading edge. 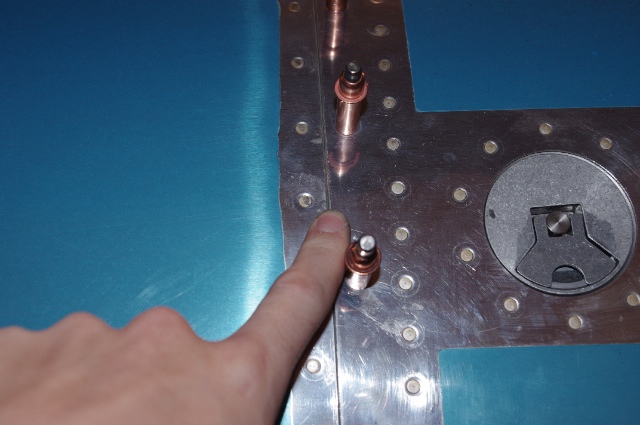 I'm done with the leading edge structurally. I still need to decide on a pitot tube (some go right at the trailing edge of the leading edge skin) as well as put in the Duckworks leading edge HID landing lights (haven't even ordered these yet).
|
|||||
| Thanks for visiting! | Last Update: 25 May 2012 |