|
 |
||||
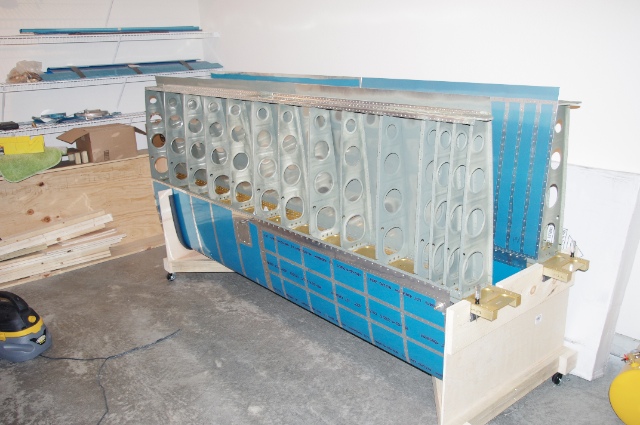
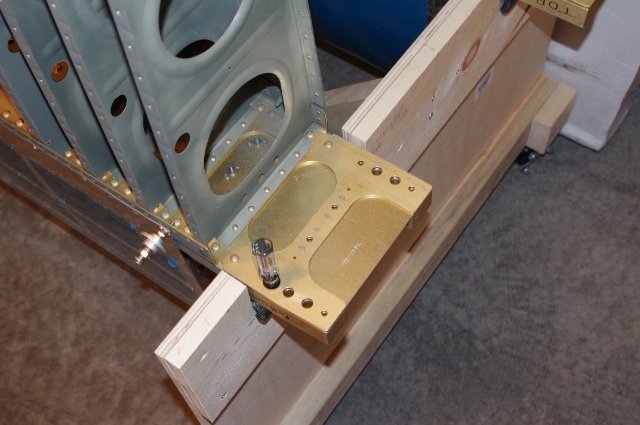
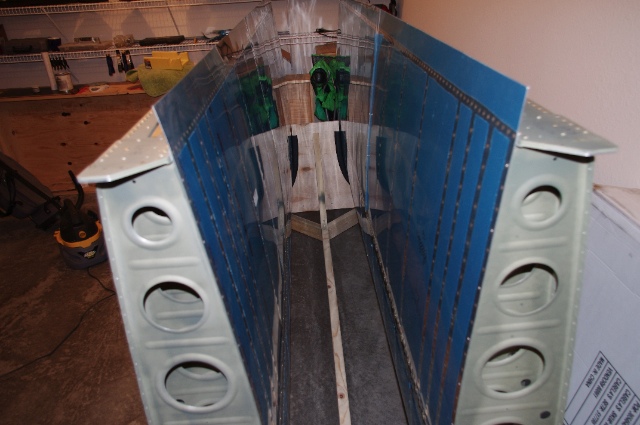
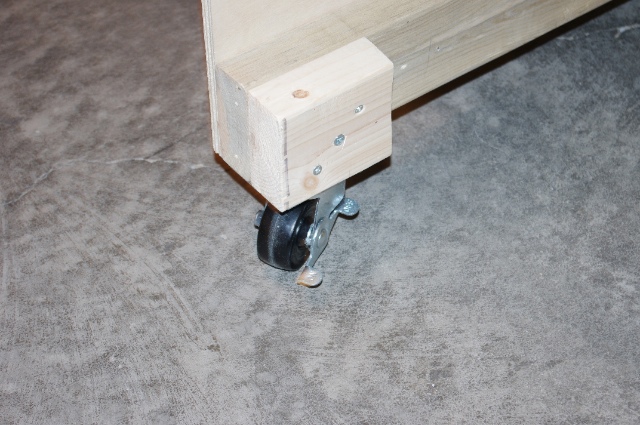
Well I've been in Texas for the past week for Christmas so there obviously hasn't been any building going on but today was different. I changed from banging rivets in aluminum to making the wing cradle. There's really nothing like saw dust in you eyes, nose, and mouth and splinters in your fingers and palms to say welcome back to building... Anyway, I built the wing cradle pretty much according to the vague plans in the drawings from Van's. I did add casters, however, to the design. Here are the wings in the completed cradle. The ends are 2'x3' birch plywood panels reinforced by 2x4s along the bottom. On the inboard end, the top of the end panel is reinforced with a 1x5 piece of wood from the shipping box. To keep the spars from sliding, they are sitting in a cutout that is 2" deep and 8" wide which fits the spar perfectly. I left 4" between the edge of the spar and the end of the end panel on each side and there is 12" between them.  Here's a close up shot showing the details of the inboard end panel. Notice the screwdriver going through the hole in the spar to keep the wing from being pulled out towards the tip.  To cushion the leading edge and the spars, I padded the end panel cutouts with 3/4" pipe insulation.  The wheels are 2.5", rubber, swiveling, and lockable. If you ask me they are absolutely a must for this bad boy. They make maneuvering the wings around the garage effortless and when locked the cradle doesn't move an inch even under pretty good pressure! I spent about 10 minutes just pushing the wings around the garage triumphantly.  Overall, this is my greatest carpentry endeavor to date (which is not saying much) and this little mini project came out magically. I even got all the supplies in the first and only trip to Home Depot. I feel like this is a big milestone in the wings, getting them off the stands and into the cradle. It may not look like much but it's a big confidence booster and I feel like I am turning a page.
|
|||||
| Thanks for visiting! | Last Update: 25 May 2012 |