|
 |
||||
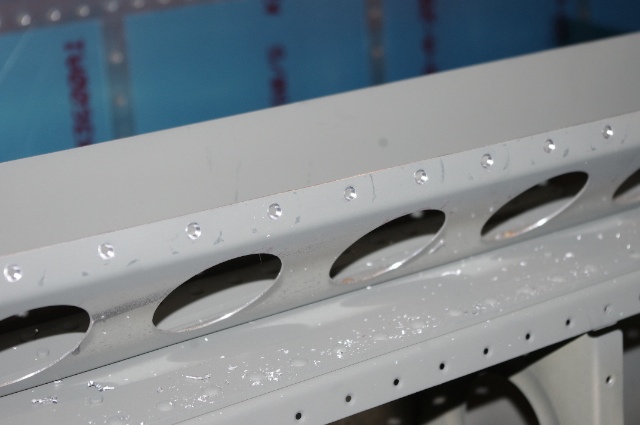
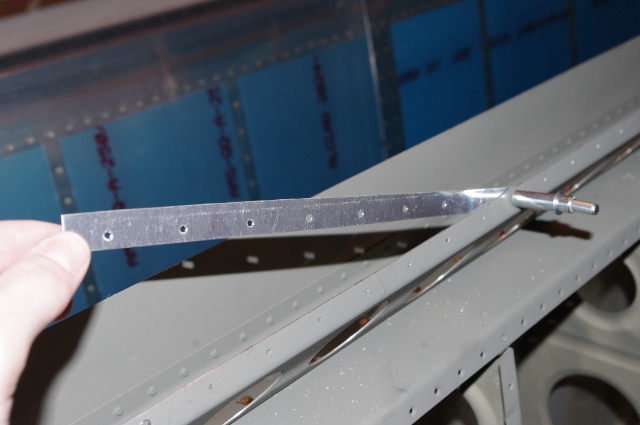
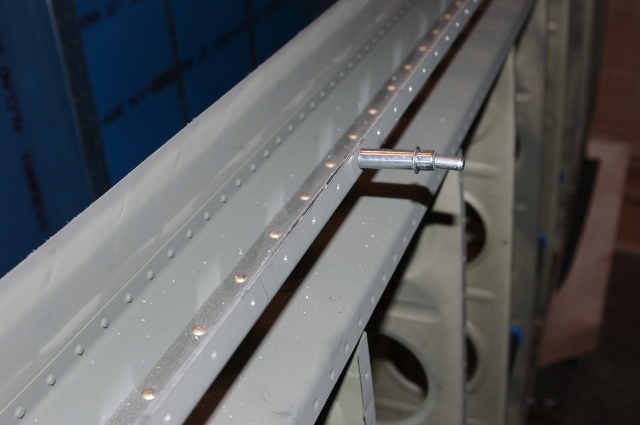
I had a random mid-day work session today. I didn't have much to do at school and I'm driving to Chicago this afternoon and the opportunity presented itself to get so work done so I took it! I'm about ready to button up the wings by putting the bottom skins on so I've been doing all the little tasks that need to be done before the skins go on. One of the last ones that I hadn't done yet was drill the bottom skins to the flap brace so I did that. Then I took the skins off and deburred the holes and dimpled them. Then I needed to countersink the flap brace. You don't dimple these because the flap hinge needs to sit flush to the brace and dimples would obviously prevent that. Here's a shot of the countersunk flap brace.  I didn't want to do this without a backing because the bit would wobbly and produce either an ugly hole (from the bit chattering) or an oval. To prevent this it's best to have the pilot go into something behind the material. I simply cut a thin strip of aluminum off of the trim stock pieces and then match drilled some holes along it and used this as my guide behind the holes I was countersinking. It really worked quite well!  Here it is in action. As I moved more towards the outboard side, when you get to where the outboard skin overlaps the flap brace, the spacing on the holes changes and about the last 7 holes don't line up. These were easy to do by just holding the strip firmly behind the brace while working. Easy.  Unless I have an epiphany of something I forgot, I think the next step is to start riveting on the wing skins!
|
|||||
| Thanks for visiting! | Last Update: 25 May 2012 |