
|
 |
||||
Well again this is a conglomeration of the past three days. I only did about a half hour of work the past two days with not much to show so I didn't figure they warranted their own update. Anyway, I set the 24 blind rivets in the end of the big control tubes and also painted the ends of them white, like so. 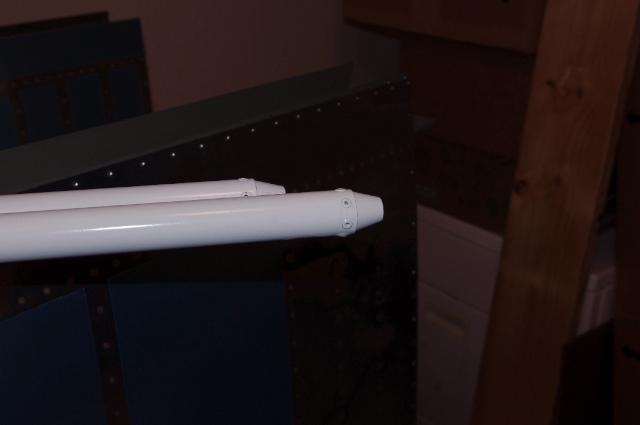 I also put the the rod end bearings on the short control rods. I took a good amount of care getting the ends of the rods the exact distance apart called out in the plans. Turns out this was a waste of time. When they go on the wings later, you adjust them to however long they really need to be to set the aileron in neutral position with the template they give you... 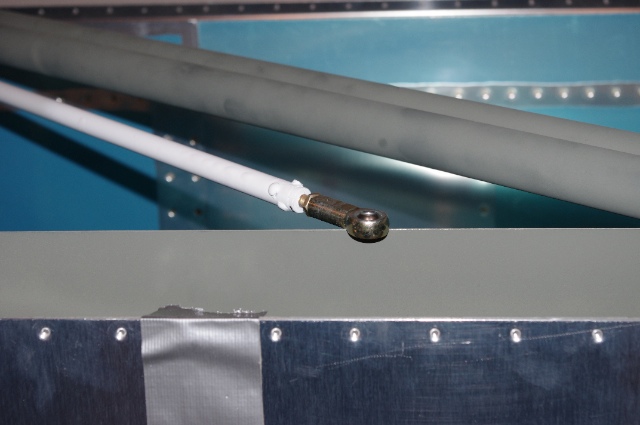 I finally started to put the ailerons on the wings! This actually went pretty smoothly. I also confirmed my ailerons are twist free because the gap between the aileron and the top and bottom skins is exactly the same over the length of the aileron. 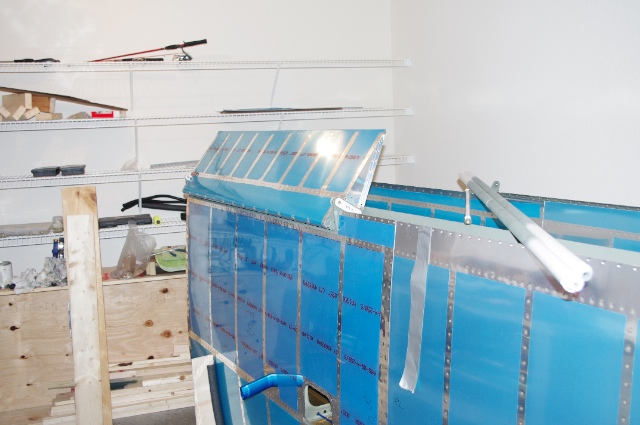 This is what the aileron bell crank looks like. Believe it or not this was a pain to install and took forever. What you can't see is a brass bushing that goes around the bolt by the "L" on the bell crank and acts as a bearing for the whole thing to rotate around. Well you have to drill it out a bit to get it to fit over the bolt, and you have to make it slightly longer than the bell crank tube that it sits in. They tell you it need's to be about 1/64" longer. They lie. For it to work like a bearing, it needs to be about 1/16" longer, otherwise it will bind when you tighten the nut down... 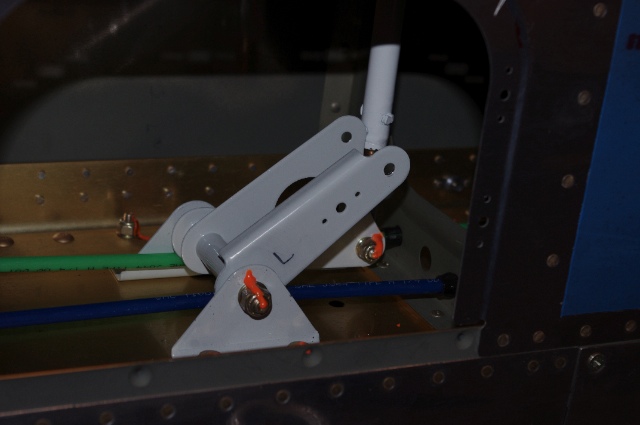 Here's how the ailerons actually get attached. I made the aluminum spacer and then worked my washer ninja skills to get all the washers and the spacer in the correct order on the bolt in the bracket. It's actually much harder to do than it sounds. 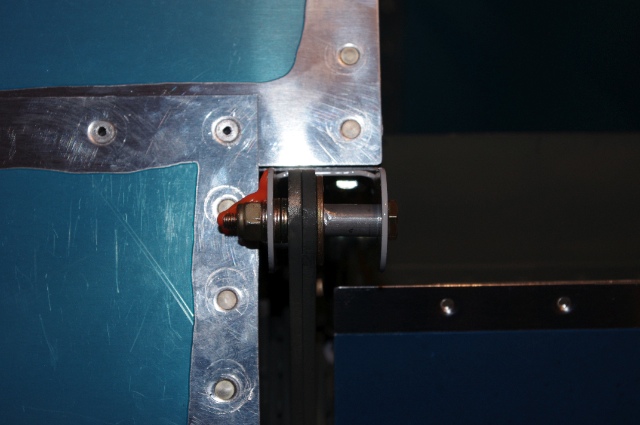 Same thing for the outboard end attachment. 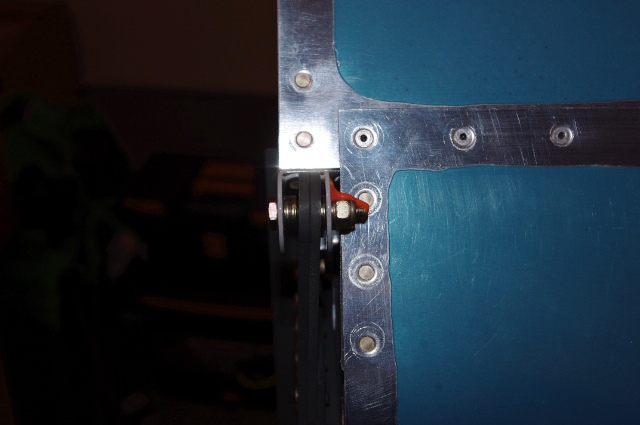 And finally the control rod attached to the aileron. There is a spacer and lots of washers hidden in there. 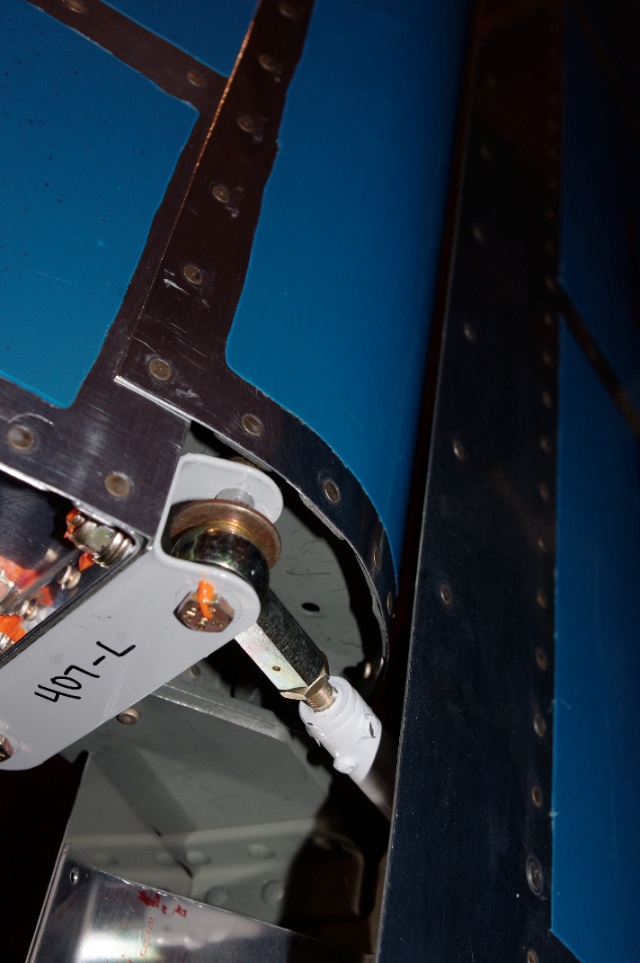 All of this work took a toll on my usual fastidiousness. It looks like my tool box threw up on the workbench... The floor unfortunately looks the same way. 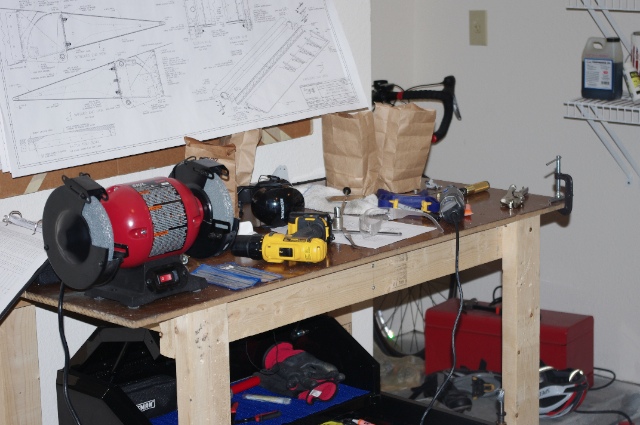 A lot of time and even more frustration went into all this. Fortunately, I think mounting the other side will go smoothly and quickly as I have already cut the spacers and worked out the bell crank/brass bushing issues on that side.
|
|||||
| Thanks for visiting! | Last Update: 25 May 2012 |