|
 |
||||
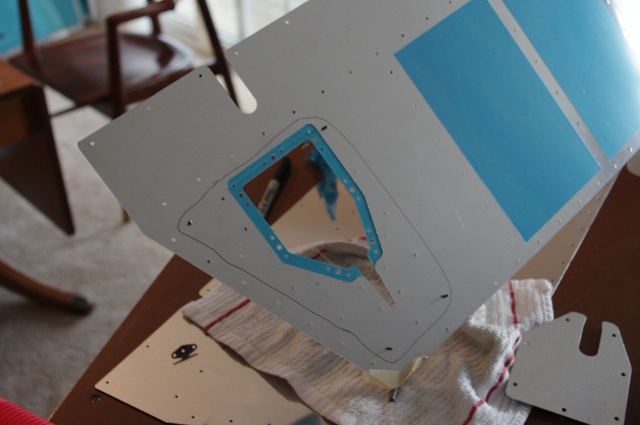
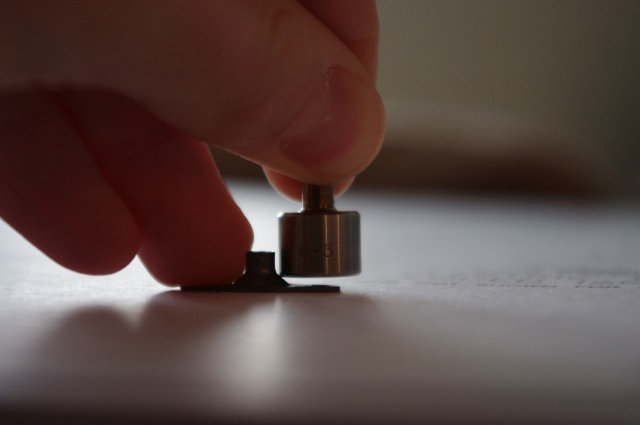
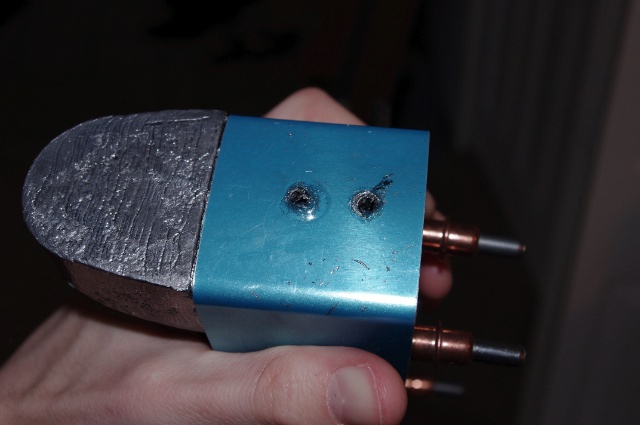
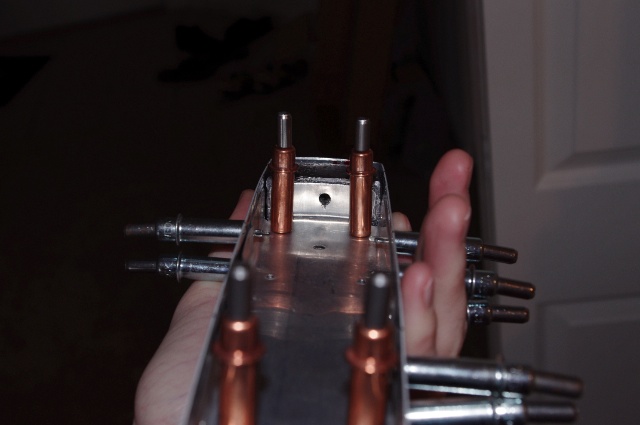
Last work session, I wanted to get the trim doubler plate and inspection cover all fixed up but I didn't have the right tools for the job. I got the parts match drilled and deburred but that is all. The blue piece is the doubler and the inspection cover will cover the hole in the doubler.  Some people have had the parts warp when they dimple them so they countersink the inspection cover for the #6 screws. The problem with this, however, is that the nutplates come from Vans countersunk and I don't think it's a good idea to leave a gap between the doubler and nutplate so I am choosing to dimple them. Problem was, I didn't have a #6 dimple die, so, Wednesday around 2:00 I order the dies and some other stuff from Cleveland Aircraft Tools and it showed up here today (Friday)! They are a great company! With the new dies, I dimple both the doubler and the cover. They did warp a little but it was quite easy to just bend them back to as flat as they were pre-dimpling. The nutplates also need dimpling for the rivets that hold them to the doubler. Cue problem #2:  The die should be sitting flat against the back side of the nutplate but the die is too fat! If you try to make this work anyway, it badly warps the nutplate... Turns out Avery makes a skinny die for situations just like this one so one of those is on its way. Unfortunately it didn't get here today so I'll have to wait some more to get this finished. Next, I drilled the counterweight. I was kind of dreading this because it is hard to drill the lead and even harder to get it straight. My solution for this was to assemble the counterweight pieces and just mark where the holes need to go in the lead. Then I went over to my drill press and drilled straight down through the lead in the two required places. Perfect! Now I just needed to put it back into the structure and enlarge the holes in the outer counterweight skin and create them in the ribs underneath. Because the lead already had a straight path through it, this ended up being pretty easy! Holes drilled in the counterweight and outer skin.  Made it easy to get the holes right on the rib flanges below! 
|
|||||
| Thanks for visiting! | Last Update: 25 May 2012 |