
|
 |
||||
For some reason I have been overly excited to work on the plane since my last build session but I was waiting on a skinny dimple die from Avery so that I could dimple the nutplates for the trim plate stiffener. Well when I got home from class today, I saw a box waiting by the front door. I knew what it was so I was surprised to see such a big box. It seems they could have downsized the packaging and saved about five bucks on shipping... Anyway, here is the box and that little dark thing on the carpet is the dimple die. Yes. That was the only thing in the box besides packing peanuts... 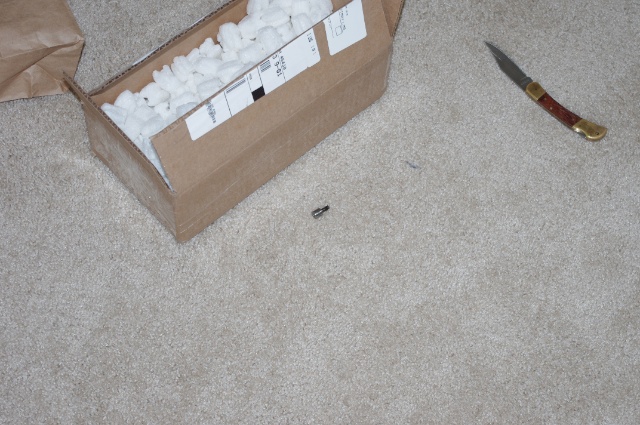 Now that I had the part I could commence with the dimpling of the nutplates. Here are all seven of them dimples and ready for installation. 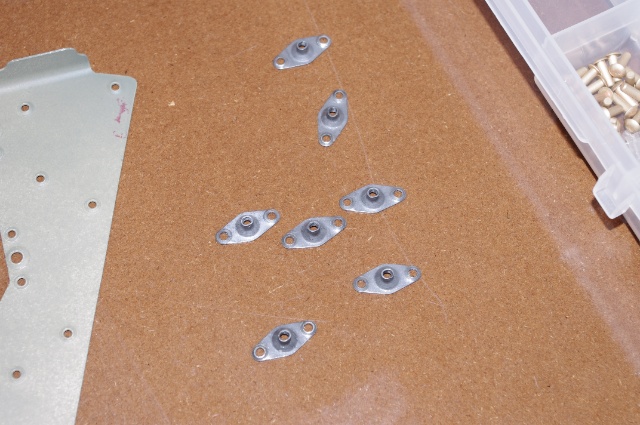 Now here they are flush riveted onto the trim plate stiffener. 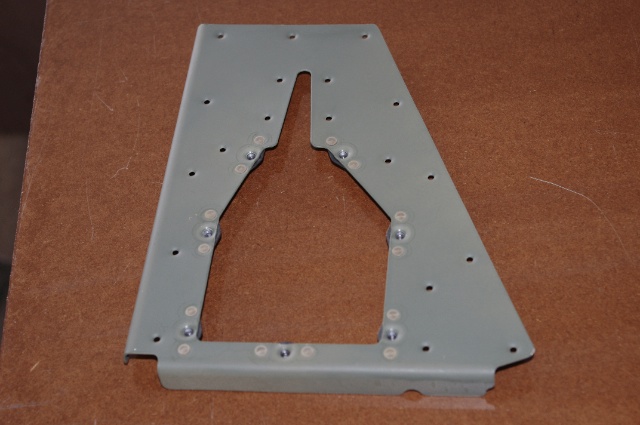 Once I had that done I went ahead and riveted on the stiffener plate to the elevator skin. I was able to reach all but one rivet with the squeezer and back riveted the last one into place. I only did this to save noise and it took me about 30 minutes to get this riveted in place. If I would have done it all by back riveting it would have taken maybe two minutes. Oh well, it's done regardless. 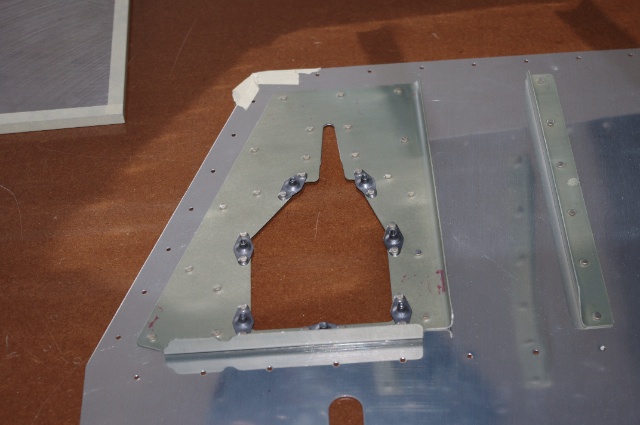 Next I moved onto bending the trailing edge of the elevator. It's only partially pre-bent so you have easier access when installing the stiffeners. I used my homemade bending break to do this job. End result is a super straight trailing edge bent almost perfectly. I did use a 3/16" dowel rod in the bend to keep a nice radius on it and prevent it from creasing. 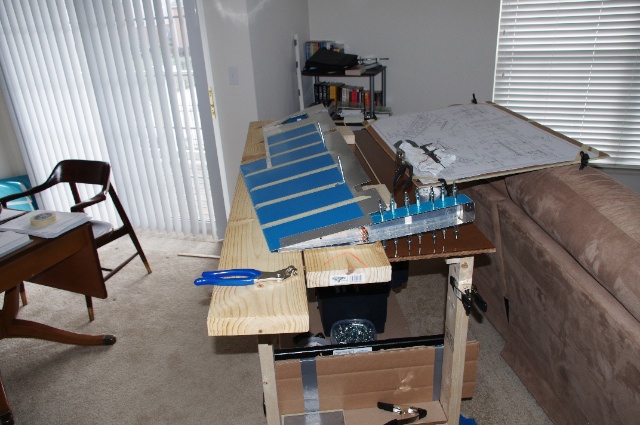 After I got the trailing edge bent, I clecoed the skin to the elevator skeleton and then match drilled all of the hole on the elevator. It's a lot of holes. 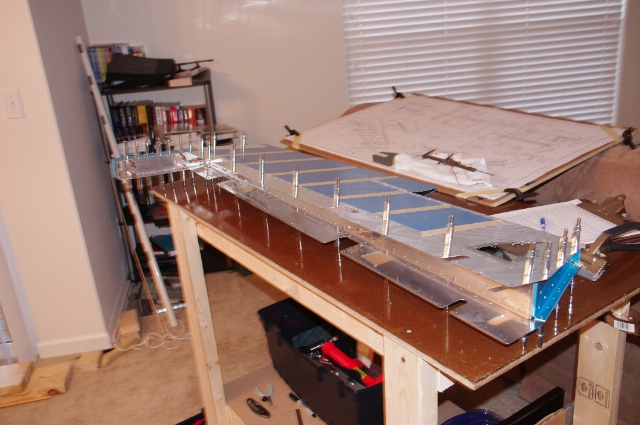 After drilling the elevator, I disassembled the whole deal so that it could be deburred and everything cleaned up. I actually was not wanting to do all this deburring so I instead countersunk the lead weight for it attachment screws. I also needed to dimple the piece of aluminum that goes over the counterweight so the screws will be flush. Issue: I don't have a dimple set for screws of any size much less this specific size. Solution: use the countersunk lead weight as the female die, place the aluminum over the counterweight, insert the screws into the holes and use them as the male die, commence to beat the hell out of the head of the screws with a mallet until they dimple the aluminum and sit flush with the surface. Worked like a champ! Here's a picture of the countersunk counterweight. 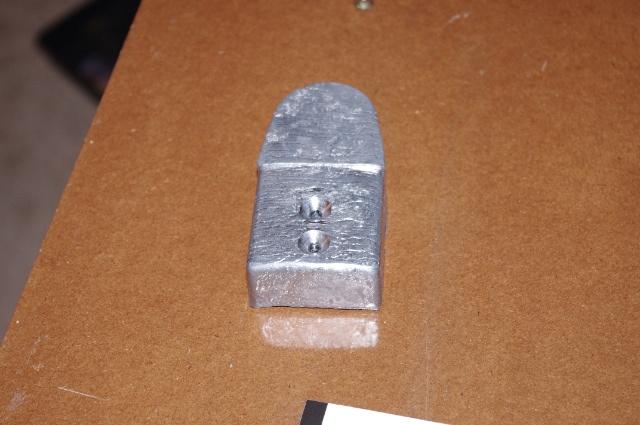 After this, I started to debur all the parts of the elevator and got most of the skeleton done. All thats left to debur is the main elevator spar and the holes in the skin and the edges of the skin. Overall it was a really productive day on the project!
|
|||||
| Thanks for visiting! | Last Update: 25 May 2012 |