
|
 |
||||
Here's a random picture of the trim servo. 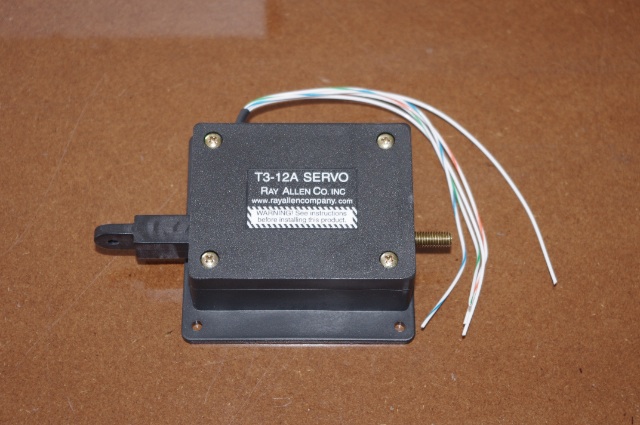 You'll notice that I was a little picture-happy today but I have decided that it's ok because it was a really good day on the project! After all the prep work on the left elevator over the past few days, it was finally time to do some permanent assemblage. I started off by riveting together the tip/counterweight ribs. Here they are clecoed together. 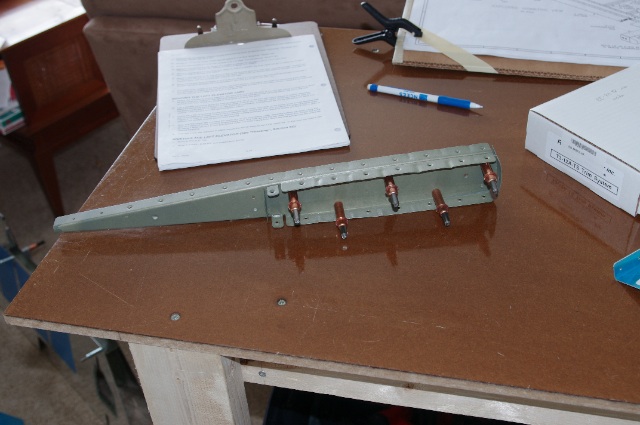 Here they are riveted together. I mucked through the right elevator on this part and tried to squeeze these rivets. Because there is a flange on both sides, it is near impossible to get the squeezer to fit correctly. Instead of hassling with that today, I just used the rivet gun. Way louder, way more fun and it worked quickly, easily and effectively! 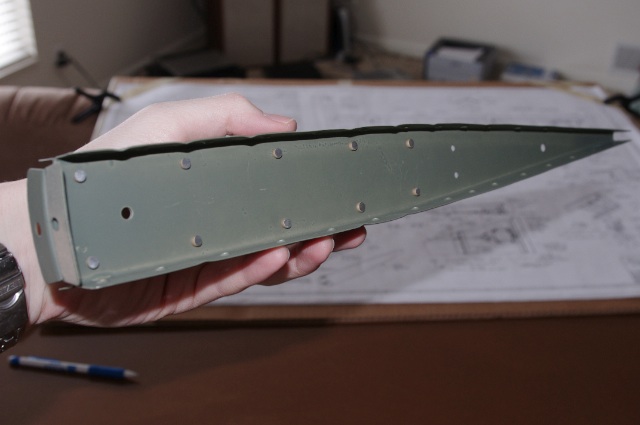 Then I squeezed the rivets to attach the nutplates and doublers to the elevator spar. 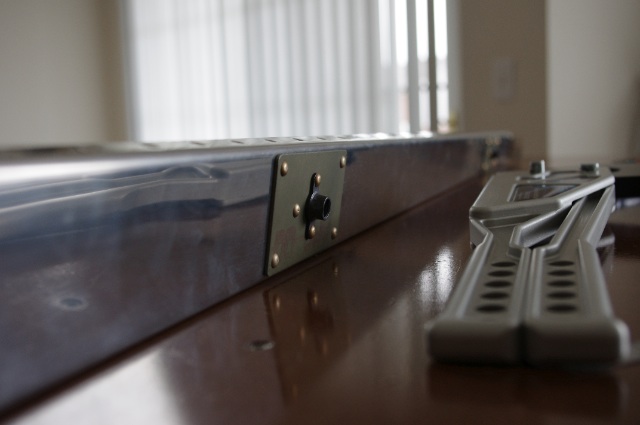 Next the root rib was riveted on with flush rivets. 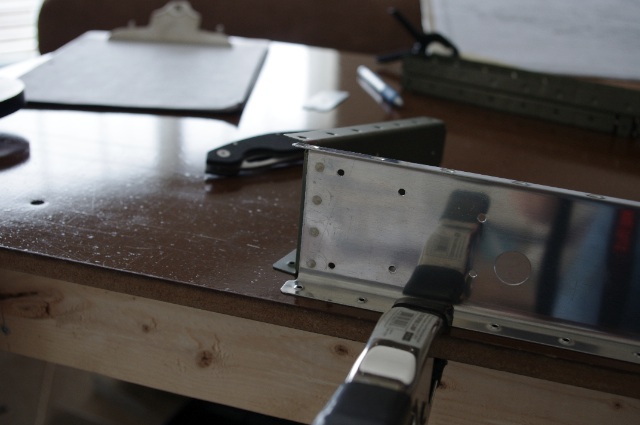 Next I riveted the tip/counterweight ribs to the spar. There are four rivets that hold this on. I squeezed two and drove two with the gun because I again could not get the squeezer to fit. I squeezed the two going into the long rib and drove the two going through the main part of the spar. 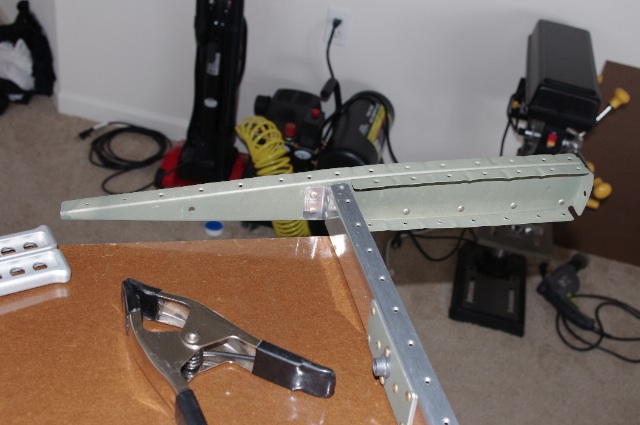 Then the elevator horn went on. 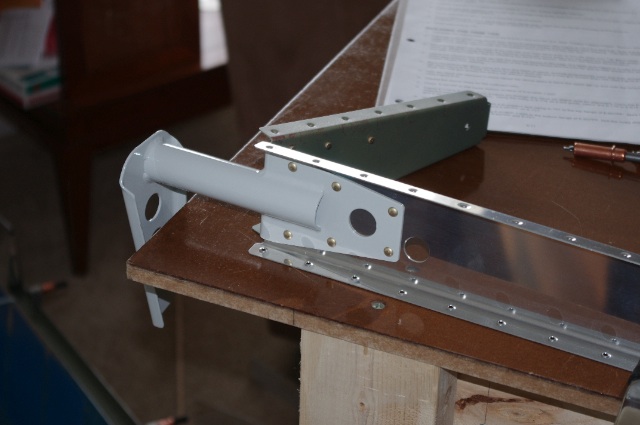 I shifted gears a little and worked on the electric trim servo. You need to attach the z-brackets to the cover. There are no predrilled holes so I drew the lines to the specifications and clamped the whole assembly together. Only measurements for one side are given so you have to line that one up and then put the whole enchilada on there to see where to drill for the other side. You'll notice the servo is upside down in these two pictures but I fixed this before I did final alignment before drilling... 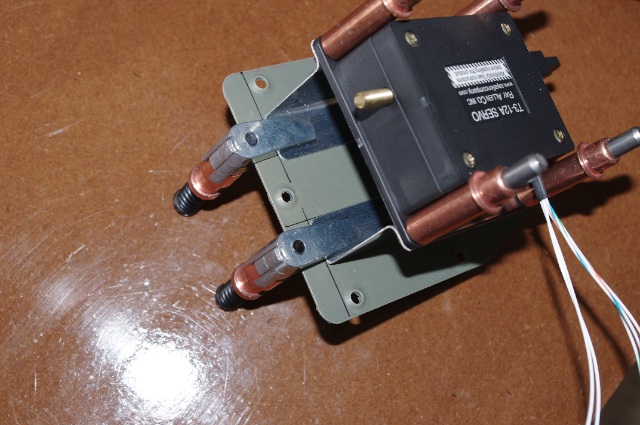 And the whole assembly drilled and clecoed together, now with the servo on there the correct way. Everything fit perfectly! I patted my self on the back. 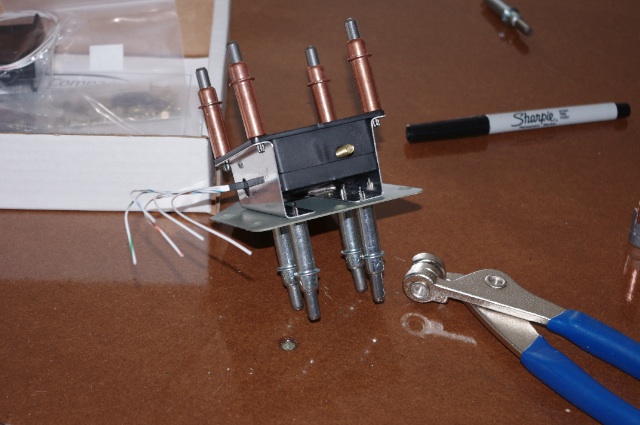 I deburred and dimpled the cover and the z-brackets, primed the brackets, riveted the brackets on and screwed on the servo. The idea for this is to make the servo easily removable/inspectable. Upon test fit into the hole in the bottom of the elevator, the servo was catching on the nutplates that overhung into the hole. All it took was the grinding wheel on the Dremel and those babies were no longer an issue. 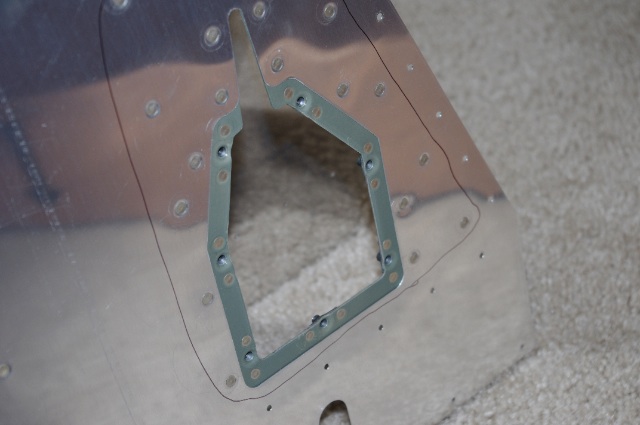
|
|||||
| Thanks for visiting! | Last Update: 25 May 2012 |