
|
 |
||||
After looking around the internet and thinking about how to fix the issue of setting the rivets in the middle of the spar on the bottom of the trim tab, I had a couple fixes. One was to buy a spar yoke which is shaped so that it can reach over the spar to squeeze the rivets. Seeing as the yoke is about $130, I went with my idea of bending the top skin back and back riveting the remaining rivets. This picture shows the rivets all done. I just bent the skin up way farther than I'm doing here to get the back riveting set in there. 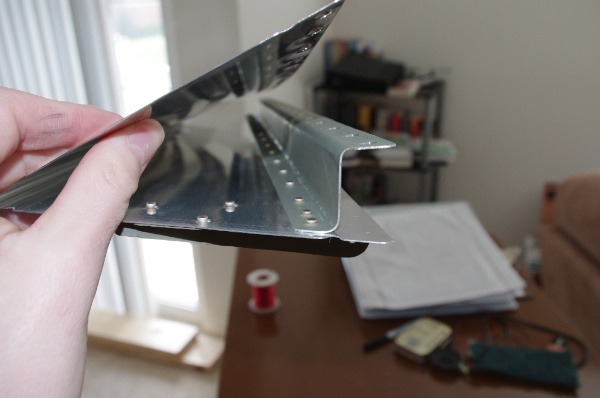 Here's is the back of the rivets with the tape still on them. All were set nicely and the skin was not creased or bent from me pulling it up to gain access. Success! 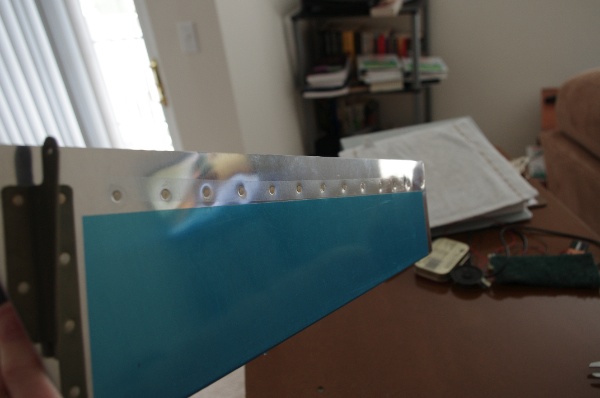 After the bottom rivets were set, I clecoed the hinges on again to just check once again the fit of the trim tab. The inboard edge here lines up perfectly! 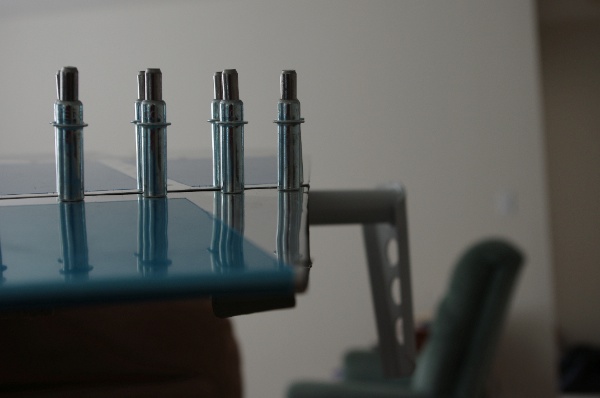 This picture shows several things. The manual said that the trailing edge is the most important to get lined up correctly. Here you can see the trailing edge extends about 1/32" past the elevator. I called this as good as it gets, to get it any closer would just be dumb luck I think. Also you can see the 5/32" gap all the way between the elevator and trim tab. 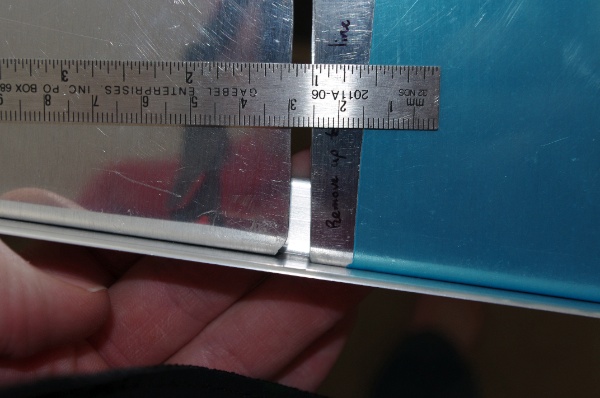 After the final check of the fit of the trim tab gave me a warm fuzzy feeling, it was time to rivet the hinges on. 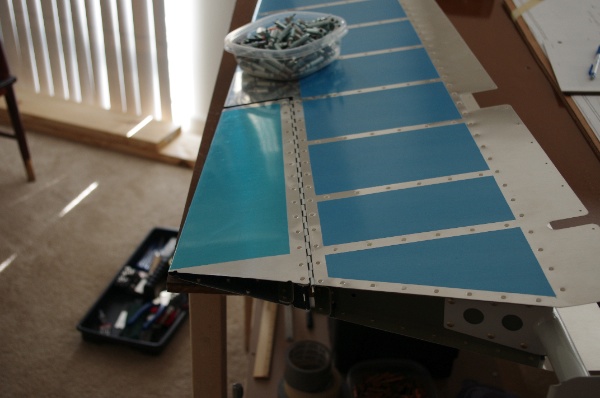 So far the trim tab fits perfectly and has been pretty easy to build. I'm happy with my decision of cutting off the tabs as the trim tab is not warped at all! We will see if I continue to hold this position after making the rest of the riblets and installing them.
|
|||||
| Thanks for visiting! | Last Update: 25 May 2012 |