
|
 |
||||
Good night of working on the project tonight, it's been a few weeks so it felt good to be back. I finished up the elevators last time so the next thing on the agenda was attaching them to the horizontal stabilizer. I started off by screwing in the rod end bearings with my special rod end bearing tool that I made. I got the idea from Mike Bullock's site here (scroll down to eye-bolt tool). I used my new digital calipers to make sure they were all screwed in the same amount. Then I temporarily mounted the right elevator on the HS. 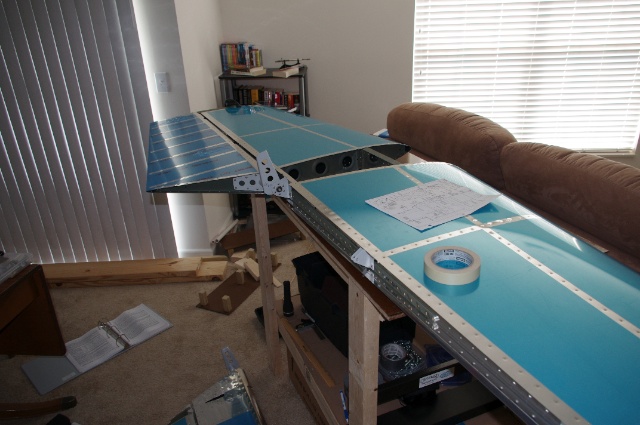 Once it was on I lined the elevator up "in trail" which means it was neither deflected up or down and then clamped it in place like so. 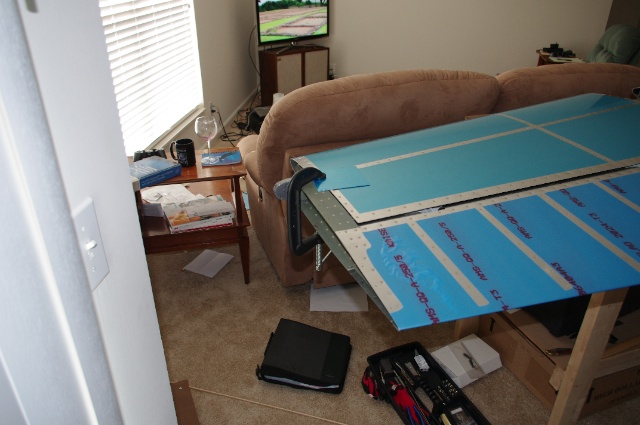 I did this so that I could drill the hole in the elevator horn through the center bearing. To do this, you need a drill bushing so the drill bit stays centered in the bearing when you drill the horn. I didn't have anything I could use so off to Ace Hardware I went. 20 cents later I was the proud owner of a nylon spacer, I mean drill bushing. This is 3/4" long and has an outer diameter of 1/4" and an inner diameter of .12" and it fits the center bearing perfectly! 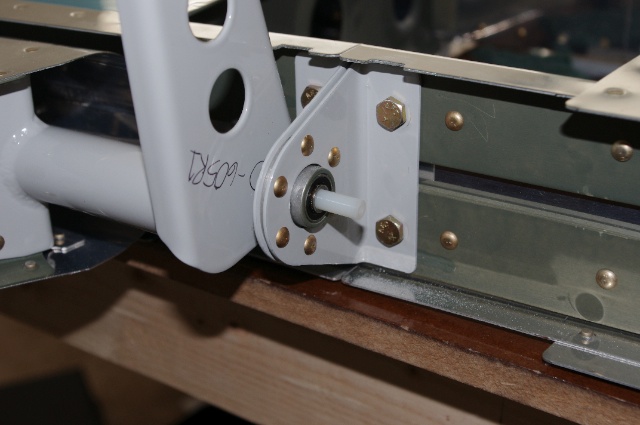 The inner diameter of my bushing was a little too big for my #40 drill bit that I was using for the pilot hole so I wrapped a little bit of masking tape around the bit to make it fit more snuggly. 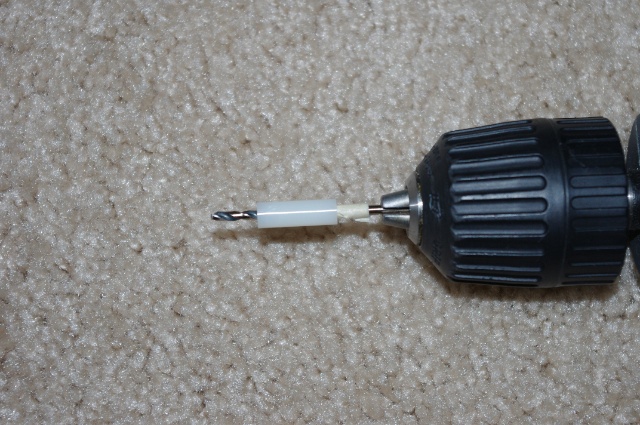 I drilled the pilot hole in the right elevator horn and then took that one off and repeated this for the left elevator. 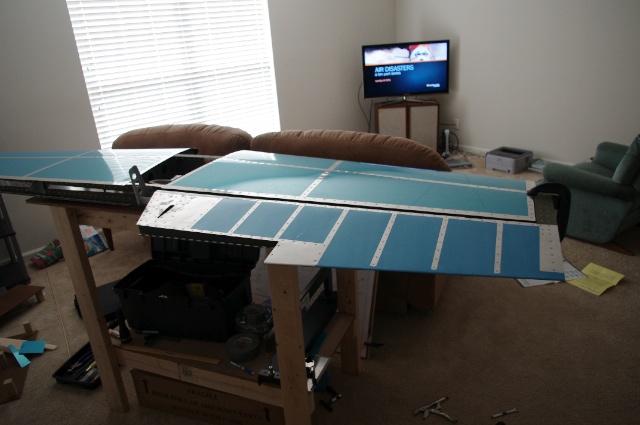 Once they both had the pilot holes in them and I had the elevators back off, I enlarged the holes to 1/4" to accept the bolt. Drilling a 1/4" hole through steel sucks in case you were wondering. Anyway, I put the elevators back on and checked their range of travel. Here are four shots: left elevator down, then up, then right elevator down, then up. The up is way beyond what is needed but that will be limited by the control linkages later on down the road. The down needed some help so I took a chunk out of the rear HS spar where it was interfering with the horns. Here's a shot of the major pain for the night. In between the elevator horns and the center bearing is a smattering of washers (7 of them) that I had to get in and it was such tight quarters that it was a huge pain! You can also see the chunks I took out of the spar. The green crap is primer I sprayed to cover the bare steel where I had knocked off the powder coat. It came out fast... 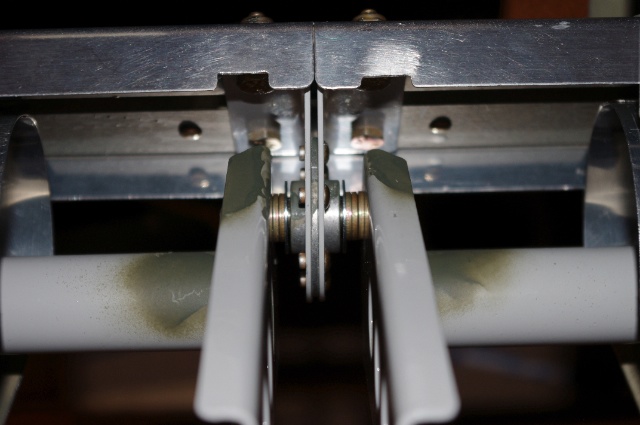 And the parting shot for the night of the HS and attached elevators. This just got real big! 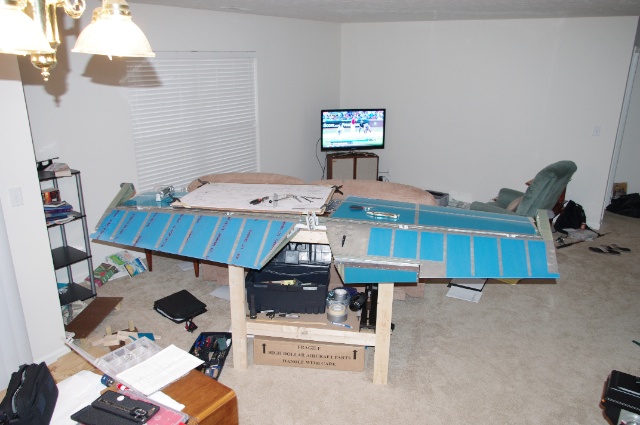 Yes as the astute observer probably noticed, I did all this work tonight with everything upside-down to make it sit flat and have slightly better access. Overall this work took quite a while but that's because the elevator actually went off and on many more times than I depicted here. This was also a pain because the bolts that hold them on are really difficult to get to much less get in the bearings. I ended up using a pair of forceps, I couldn't have gotten the bolts or the washers in without those bad boys! Next I will have to figure out a way to get the proper amount of torque on the bolts which will be difficult because they are essentially inside the leading edge of the elevators...
|
|||||
| Thanks for visiting! | Last Update: 25 May 2012 |