
|
 |
||||
The middle doubler covers up a hole in the spar that is supposed to let some control stuff pass through it so I needed to trace the outline of the hole in the spar onto the doubler plate so that I could cut it out. I just used a 1/2" step drill to get a very rough cutout like you see below. Then I took it closer with the Dremel and finally all the way with a hand file. End result is a perfect match! 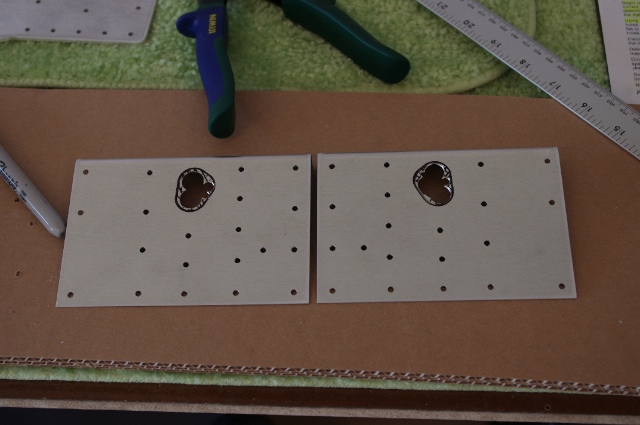 You need to countersink some of the holes on the tip doubler plate so I did that before priming. The bottom three went smoothly on each side but the countersink microstop fence interfered with the flange on the top hole so I had to freehand that one. 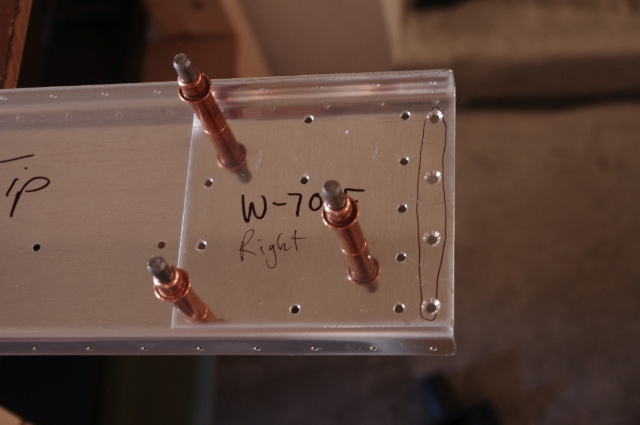 Today I started out by finishing up what I left from yesterday: tapping the wing tie-downs. This was pretty straight forward, just took a bit of muscle. Yesterday, I realized I needed to tap them so I went looking for a tap. Home Depot had the right size tap for $9 and the "T" handle for $16. Kind of a rip off, so I went to Harbor Freight Tools instead and found a 40 piece tap set for $15. Cheap Chinese tools for the win on this one. They worked great! 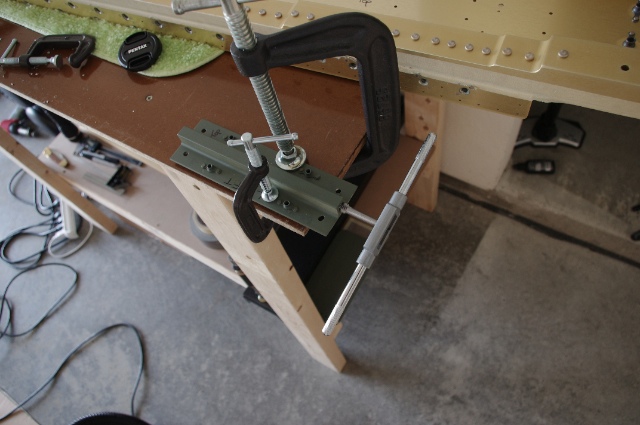 After the tie-downs were tapped, they could be called done so I installed them on the main spars along with a control bracket and torqued the bolts appropriately. 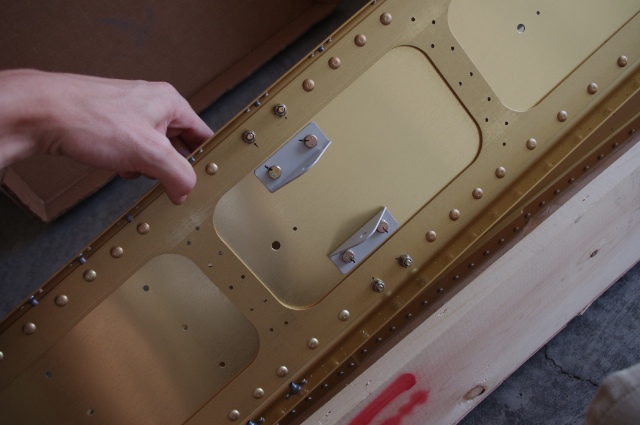 This closed out the first section on the first instruction page so I continued on to the rear spars. Step one was to debur the parts. I got a $30 3-inch bench grinder also at Harbor Freight yesterday and it deburs like a champ! All the doublers I deburred on the grinder and the long spars I just did with the hand deburring tool. Here are the rear spar doublers laid out. 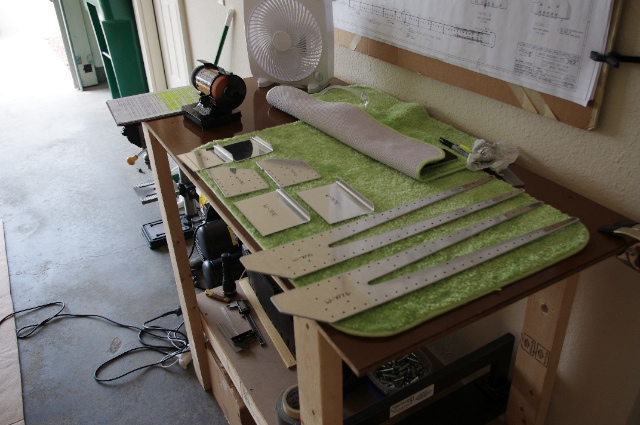 Once deburred, I match drilled the doublers to the rear spars. 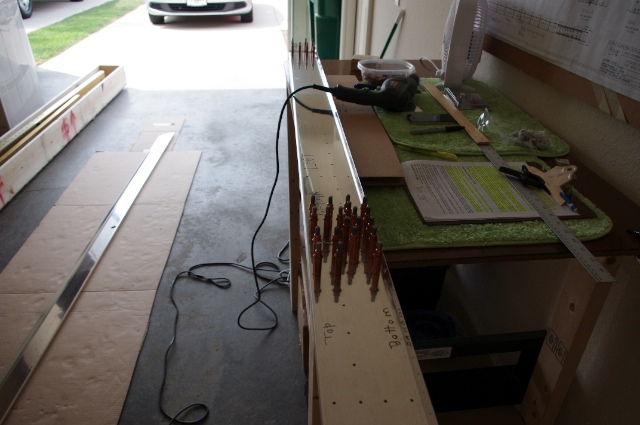 I didn't take any more pictures today after countersinking... Anyway, I deburred all the holes on the doublers and spars and then drilled and dimpled the holes on the top spar flange now because the fork-shaped doubler is too thick to allow the dimple dies access in there when it's attached. I primed the doubler parts and then re-attached them to the spar for final assembly. I didn't get all the rivets set but I got some done. It was slow going as I was putting tape over all the holes that don't get rivets now because more parts will be added later. The spars are all set up now for riveting whenever I get back to the garage, which should be tomorrow.
|
|||||
| Thanks for visiting! | Last Update: 25 May 2012 |