
|
 |
||||
Today I started the fuel tanks. I've been kind of dreading this as I hear that these are not the most fun things to build because they are hard to get everything to fit and the instructions are less than clear and there's the tank sealant at the end. Ok the first thing I did today was drill the leading edge skins and ribs to the spar. It doesn't mention this in the directions at all but I did it now because I think it's better to get all the holes drilled without taking the part off or moving it around. Ok back to the tanks. Step one is to make the Z brackets that mount the tank to the spar. I stray from the directions here and go with the method made popular by Dan Checkoway because it apparently gives better results. The first thing to do is drill a single hole in all of the Z brackets. Lengthwise it goes exactly in the middle and width wise it's better to position it so that the nutplate that ends up going there is as close to the flange as possible. I didn't want to make many really precise measurements over and over and then drill the holes and maybe mess up so I measured really well one time, then set up a fence on my drill press to knock the others out. Here's the setup. All I had to do was slide the pieces in and hold them there. Easy schmeasy. 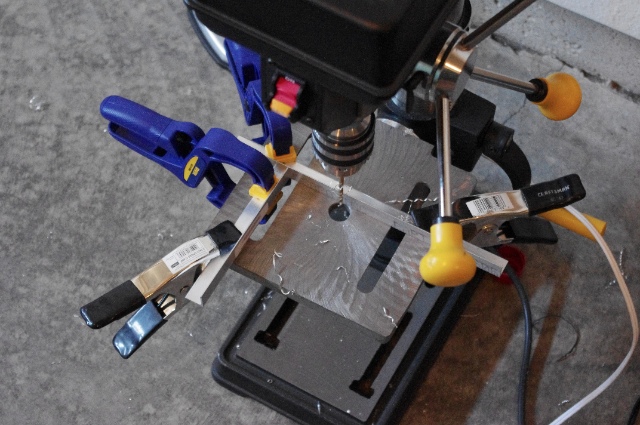 The result is identical Z brackets with perfectly located holes. 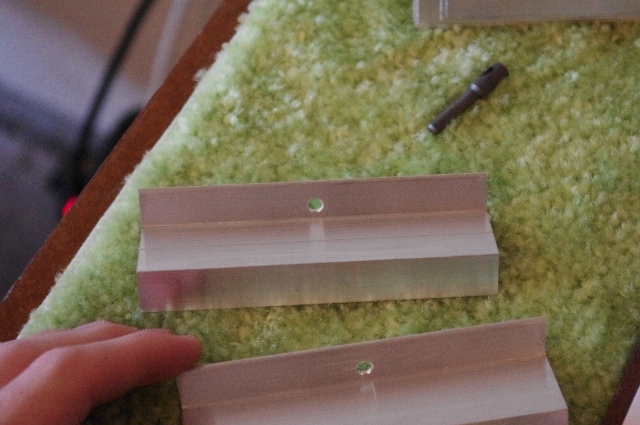 After that, I put the brackets on the spar and match-drilled the other two holes on each bracket. This was tougher than it sounds because I didn't have any 3/8" clecos and there is no real good way to clamp the Z bracket to the spar, at least that I found anyway. I ended up just holding it really tight against a carpenter square to make sure it was square with the spar and put a bolt through the middle hole to get the correct alignment, then I reached under the spar and started match drilling one hole, took the bracket off once it was started and finished it up on the bench because it was horribly awkward to try and drill these all the way through from under the spar, slid a bolt through both holes now and then started the third. After the brackets were all match-drilled, I needed to fit them for nutplates so I clamped a nutplate on like so and drilled the holes for each one. 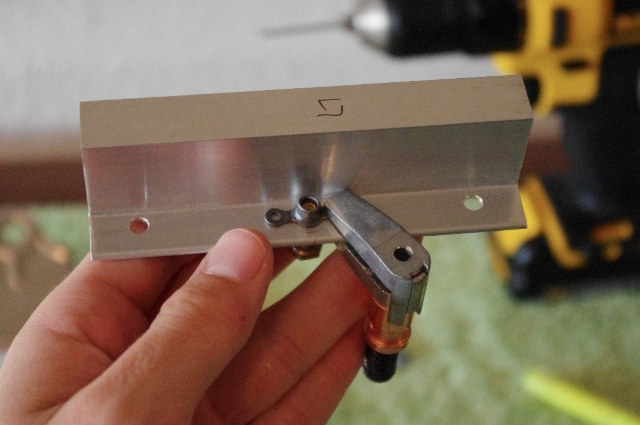 Then the nutplate attach rivet holes got countersunk. 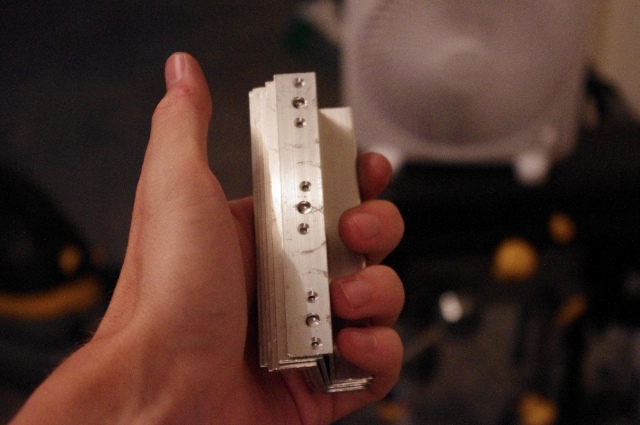 Then they got primed and the nutplates got riveted on. Those are not actually scratches in the brackets, that's just where my squeezer rubbed against the bracket when I was setting the rivets which made the primer shiny. 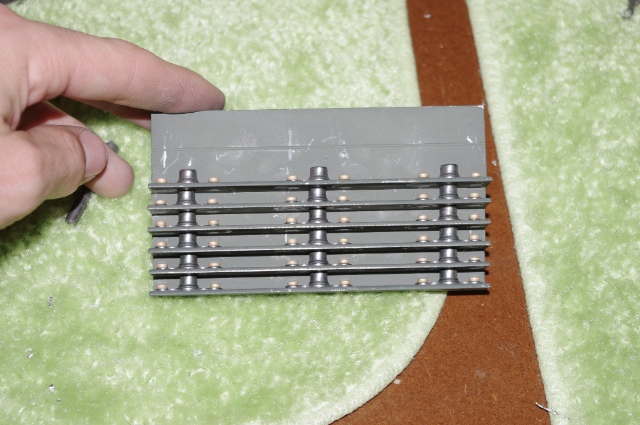 I riveted both sides' brackets and then attached them to the spars. 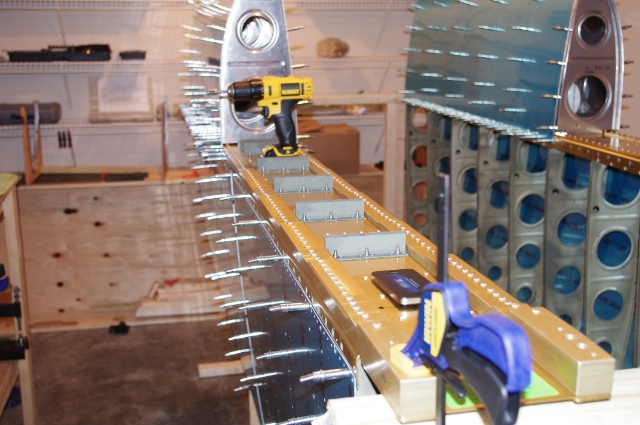 I'm pretty happy with how the brackets turned out but it was a long and slightly frustrating day at times to get there and I feel like I should have gotten more done. Oh well, I still made good progress.
|
|||||
| Thanks for visiting! | Last Update: 25 May 2012 |