|
 |
||||
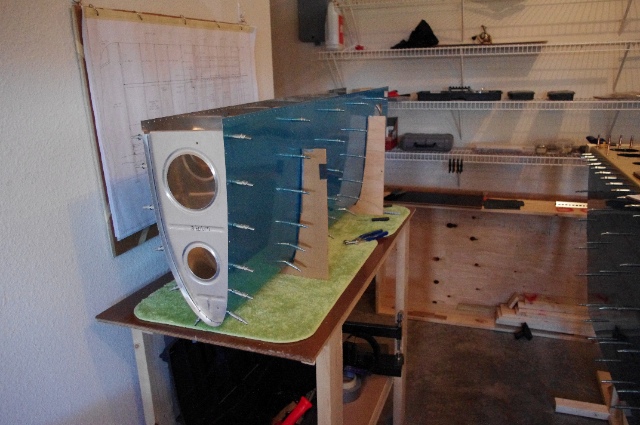
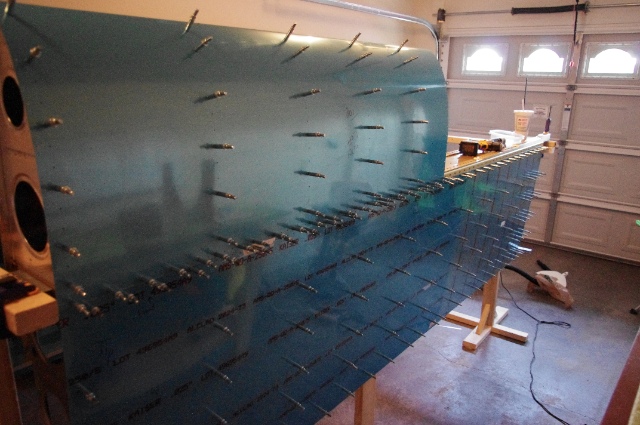
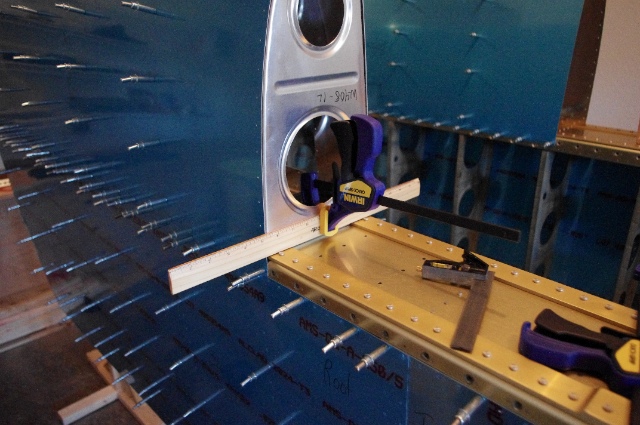
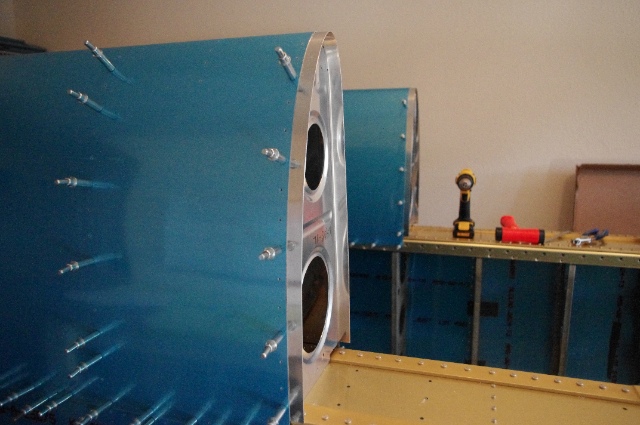
Had a pretty decent day out in the garage. I did lots of work on the leading edges of the wings. First off, I got the right leading edge put together with clecos.  Then I clecoed both left and right leading edges to their spars. It's starting to get pretty wing-like with these bad boys sitting on top!  The inboard rib on both sides comes without any holes so I clamped it in place with this ruler to get the edges flush with the edge of the skin. Then I match drilled with my 12" #30 bit through the spar into the base of the rib and clecoed it to the spar.  With the outboard rib drilled to the spar, I next had to make the fuel tank attach piece. It's simply a 1.5"x36" long strip of aluminum. I marked a line down the length of it so I would know when I had it in position. With the line drawn and the inboard rib in place I had to get the attach piece in between the rib and the skin. The line that you draw shows through the pre-drilled holes in the skin so you know when its in the correct position and then you have to measure the distance from the edge of the piece to the web of the rib to know if the rib is in the correct spot. It was a little work getting all the pieces in the right places but a little elbow grease and a rubber mallet got the job done. Then it was measure, drill. Measure, drill... You can see both wings are done in the picture below. All the holes are drilled in the inboard ribs and everything looks good on the attach piece.  With the inboard ribs drilled, I drilled the rest of the leading edge ribs to the skin. **Update** - I didn't drill the leading edge ribs or skin to the spar because it didn't say to but I looked through the instructions and it never actually mentions this so I went ahead and did it now before I either forget or remove it and then put it back and it doesn't fit quite the same. I actually did this the next day but put it here for reference.
|
|||||
| Thanks for visiting! | Last Update: 25 May 2012 |