|
 |
||||
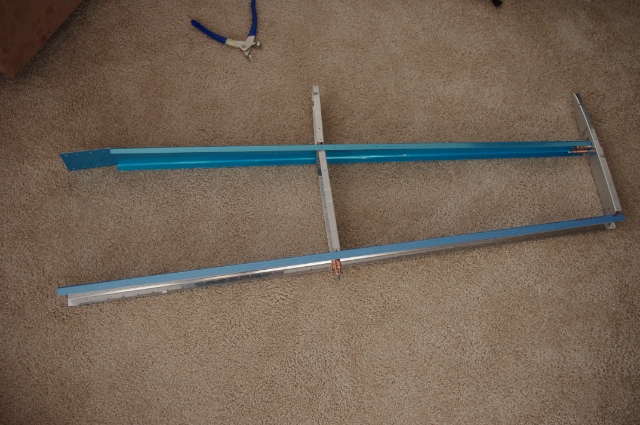
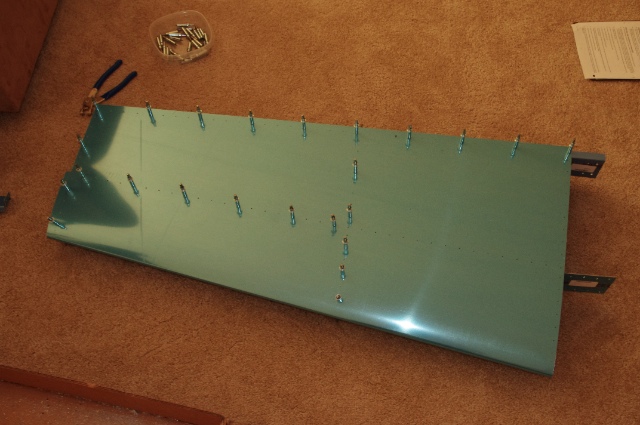
Today I started by fluting all the ribs for the HS. When the ribs get formed from flat sheets of metal, they get slightly warped and don't sit flat which doesn't sound that bad but could lead to the pre-drilled holes not lining up or make it difficult to fit all the parts together. While not difficult, this proved to be time consuming because a) it's a time consuming process, and b) I don't know what I am doing. I did get them all straight and flat though, and then did the first assembly of the left HS and match drilled the holes in the skeleton.  After drilling the skeleton, I clecoed on the skin and match drilled all the holes.  Upon assembly of the skeleton, I became a little unsure of this soundness of this plane. The skeleton was all wobbly and didn't seem like it would support 10 pounds of weight much less an airplane at 200 mph pulling 6 G's. However, as soon as I strapped the skin on, it became as solid as a rock. Pretty amazing really. It seems like for every step forward on this project you take two steps backwards. I had the left HS which looked like a real airplane part but then it had to all come apart. After drilling all those holes it came time to debur them... About 300 holes drilled and each one requires two debur operations (one for each side on the hole). Once that was complete I deburred the edges of all the ribs and the skin. All this deburring gets rid of sharp edges which if left on can lead to stress cracks.
|
|||||
| Thanks for visiting! | Last Update: 25 May 2012 |