|
 |
||||
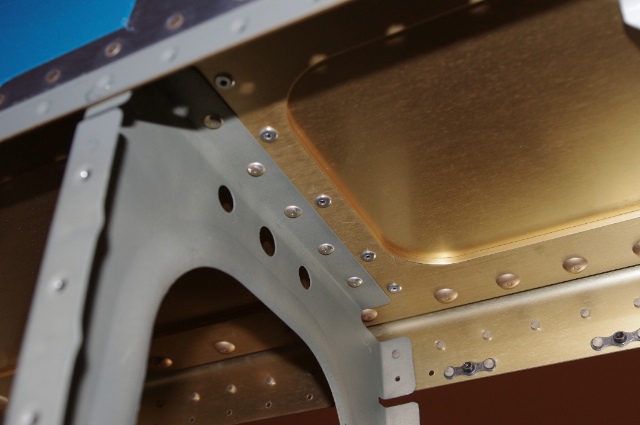
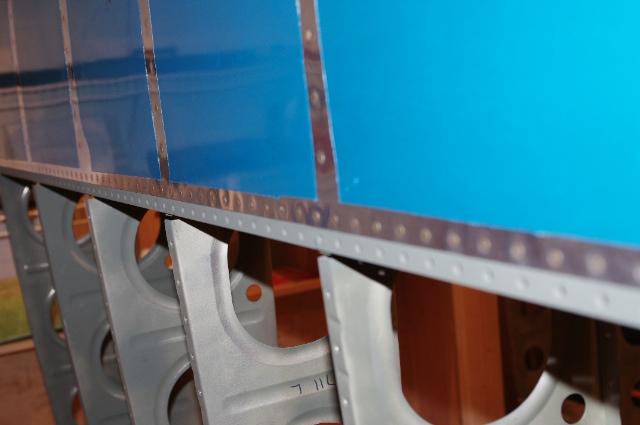
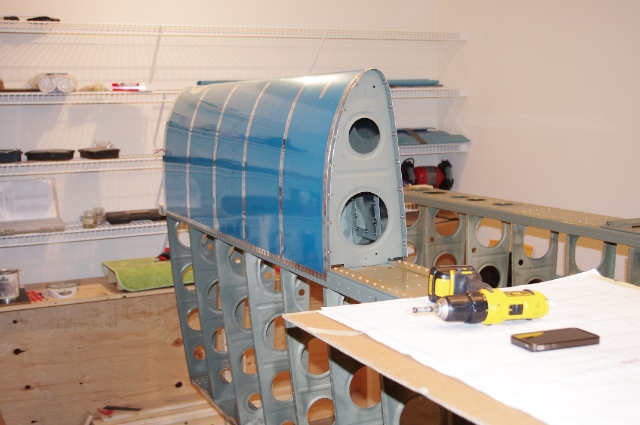
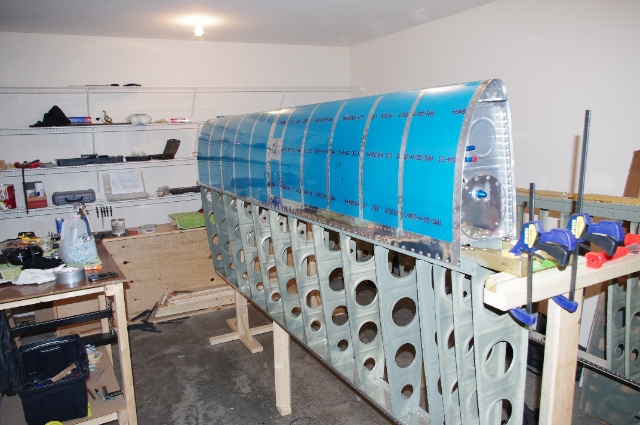
Yesterday, I primed the spar where I'd countersunk it for the skin dimples but it was so cold it was taking forever to dry so I couldn't continue. Today, I got out there and did some work though. I started by riveting the leading edge ribs to the spar. It says in the plans to use solid rivets here but for all the locations except the one in the picture below, it literally is too close to the main wing ribs to even get the gun on the rivet head. In lieu of this, I did what many have done (Van's has even told people to do this) and used LP4-3 blind rivets. Even with my rivet puller ground down, it was still difficult to get the rivets set. It didn't help that I probably have the worst rivet puller on the face of the planet on top of fighting the tight spaces.  Once I got the LP4-3 rivets all pulled, it was time to move on to the skin-to-spar rivets. These were a joy to set as I got to use the squeezer. There were no tight fits or interference on any of these and needless to say, they all turned out really well.  I think this leading edge looks really good! The skin is perfectly flush to the spar.  After getting the leading edge on, I put the tank on with half the screws. The fit between leading edge and the tank is really great, there is not even any pillowing. There is one small issue though. The inboard and outboard z-brackets are just a tad off from there holes in the spar so the screws would not go in. I'll have to take the tank back off to fix this but it should not be a big deal. If the holes are slightly enlarged it shouldn't matter as their job is to keep the tank pulled tight to the spar so there shouldn't be any shear forces in these bolts.  The good thing about the wings is I get to do all this over again... I'll have to wait for my order of LP4-3 rivets to come in from Van's before I can do the right side. Hopefully they'll be in tomorrow.
|
|||||
| Thanks for visiting! | Last Update: 25 May 2012 |