|
 |
||||
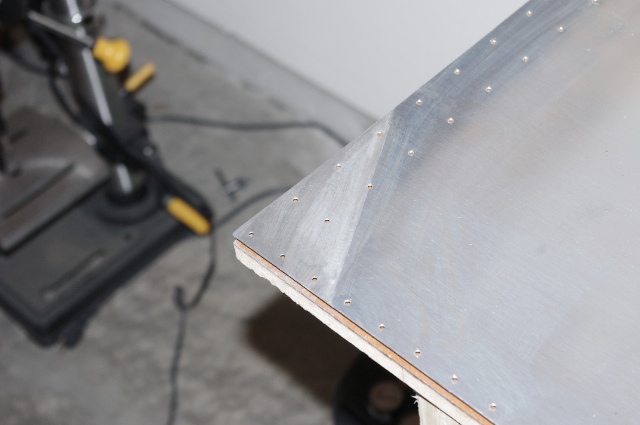
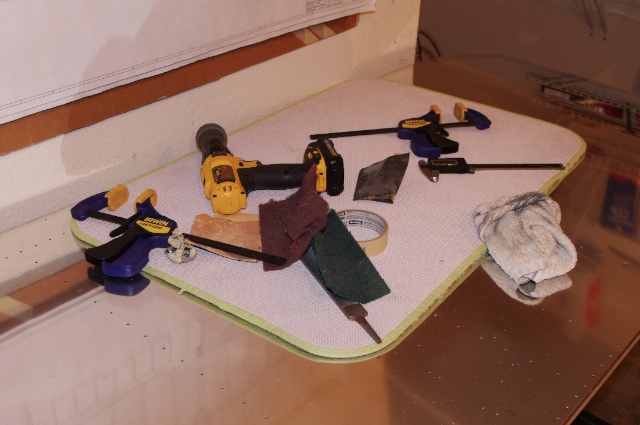
When I riveted on the leading edges, I put the tanks on the spar as well. I was a little upset then because while the tanks fit great, there were a few of the z-brackets where the bolt holes were not lining up with the nutplates. I couldn't figure out how this could have happen because I match drilled the holes through the baffles and they all lined up perfectly then so there literally could have been nothing that changed between now and then. Well as I was unscrewing the screws around the edge of the skin to take the tank back off and enlarge the bolt holes, a thought hit me. Why was it only the inboard and outboard z-brackets that were having fit issues? With all the screws removed but the bolts still in all the z-bracket (at least where they would fit), I looked again at the z-brackets where they wouldn't fit. Then I pushed on them and sure enough, the moved a little bit! I was able to push the brackets into alignment and get the bolts through, no enlarging required! This was a huge relief. So what happened? I think what happened was that the rear flanges or the tank ribs may not have been perfectly square. For the ribs in the middle of the tank, the baffle was strong enough to pull them square and therefore the bolt holes in the z-brackets lined up. On the ends however, the ribs are thicker and the baffle ends so the baffle was not strong enough to pull the flange into perfect alignment, thereby tilting the z-brackets just enough to cause the slight misalignment/frustration. That's my best guess but what ever the problem was, it's fixed now so I am happy. After fixing the problem, I started the last little bit of prep for the top skins. The inboard and outboard wing skins overlap at the two row of rivets that you can see in the first picture. This means that the skins here will sit proud to the tank/leading edge skin where they meet at the spar. To get a smooth transition, you file away approximately half of the skin thickness on each skin at the corner where both skins and leading edge skin meet so you get a smooth transition. Here is one of the skins all scarfed up.  Here are the tools for the night. I used the big vixen file (under the green scotchbrite pad to remove most of the material, then sanded it smooth with sand paper, then a scotchbrite pad, then the scotchbrite wheel in the drill to buff it out.  I have the other set of top skins to do before I can dimple them and then rivet them to the wing! It feels like it's taken forever to get to the point of skinning the wings.
|
|||||
| Thanks for visiting! | Last Update: 25 May 2012 |