|
 |
||||
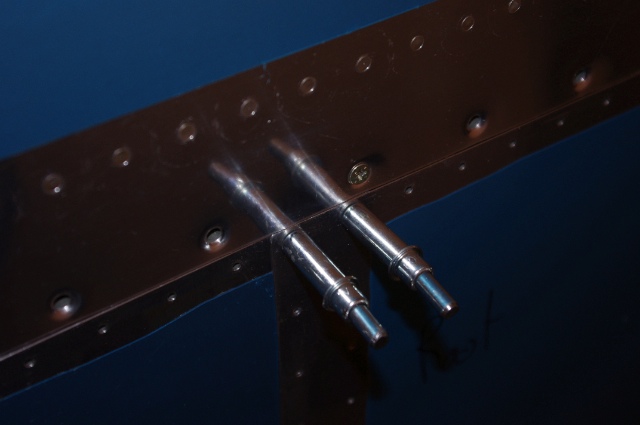
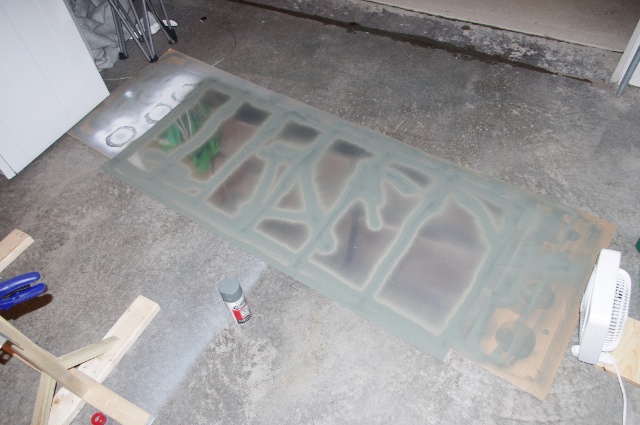
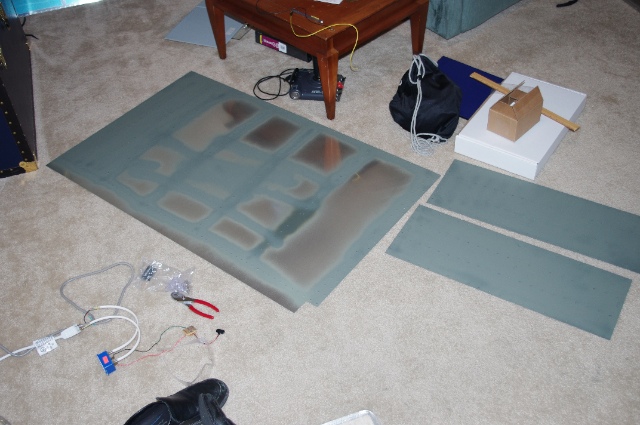
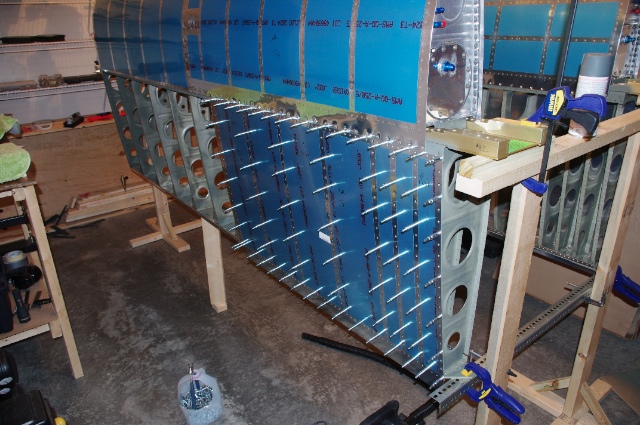
Good day in the garage today! I finished up the right wing's top skin scarf joint. They turned out really well, here is a shot of them when they were on the wing for a test fit. Pretty much a seamless from main skins to leading edge skin.  After finishing the scarf joint, I moved onto dimpling the main skins. I dimpled with my squeezer all the holes along the edges. Then I got to make a lot of noise for a while while I used the C-frame on the holes on the interior of the skins. I only got the left wing skins completely dimpled before it got too late to make that much noise. After they were dimpled, I primed the bottom side of the rivet lines where they will contact the ribs. Also I primed some scratches too. It was really nice dimpling the flat skins on the C-frame as opposed to fighting the pre-bent skins of the empennage and the leading edges.  Here's the other top skins for the left wing and both wing walk doublers dimpled and primed. I primed the entire surface of the doubler because it's in constant contact with the main top skin and I don't want trapped moisture between the two to cause corrosion.  At the end of the night I clecoed the left inboard main top skin and wing walk doubler to the skeleton after being sure the wings had no twist. Next step for this bad boy is to get riveted on. I don't have a rivet buddy to help with getting these on so I tried to see if I could reach the middle of the skin. I think I will be able to get the lower half of the holes by sitting on the ground and reaching up to get both the gun and the bar on the rivets. Then for the top, I should be able to reach around the edges of the skin through the lightening holes in the ribs to reach the rivets on the top half. If I can't quite reach some on the top half in the middle then I can take off the fuel tank and get them pretty easily.  Tomorrow I should be able to finish dimpling the right wing top skins and then start riveting the skins on!
|
|||||
| Thanks for visiting! | Last Update: 25 May 2012 |