|
 |
||||
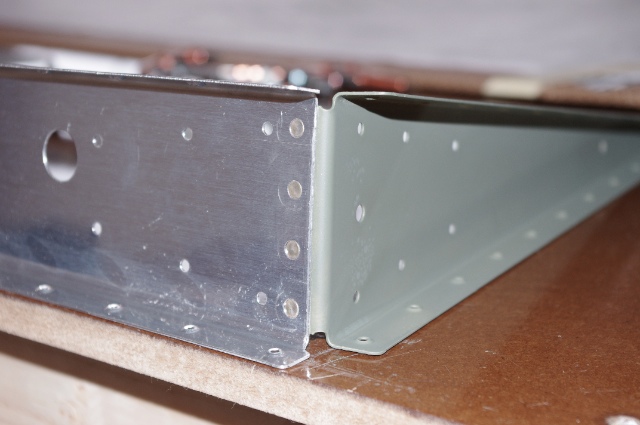
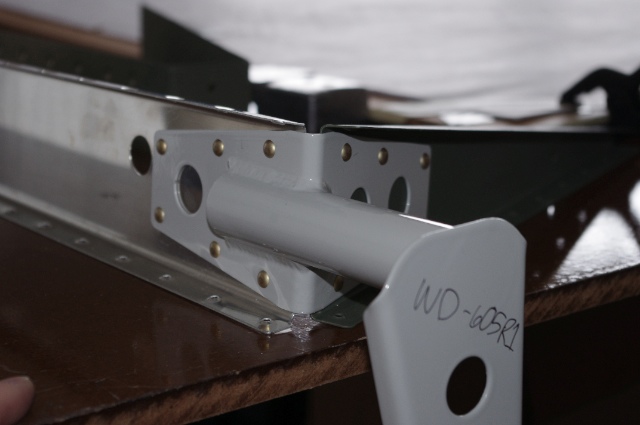
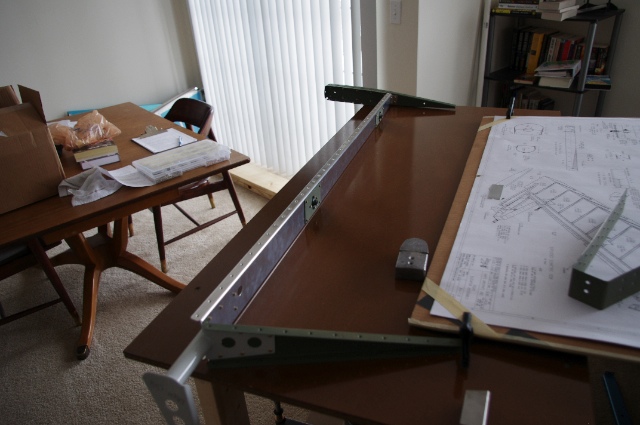
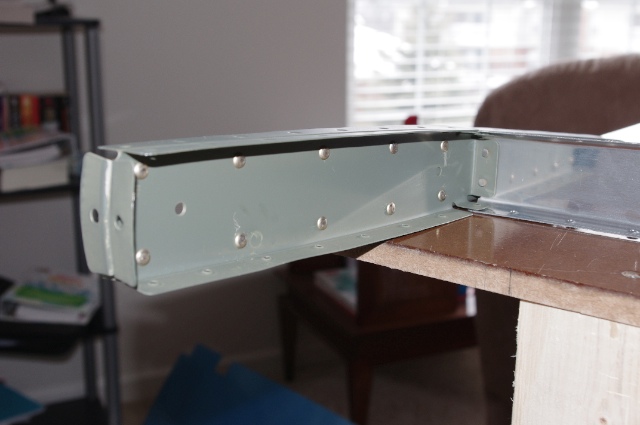
I started out today by deburring and then dimpling all the holes I drilled in the last session both in the elevator skin and in the understructure. After that I shot a coat of primer on the parts and then set to putting this puppy together. To start putting it together, I countersunk the four rivet holes to allow for flush rivets and then set those four rivets. Here's a shot.  The two holes closest to the edges of the spar were difficult to countersink. They are too close to the spar flange so I couldn't get the countersink into the holes with the depth limiter on the bit. In other words, I had to basically "freehand" it, keeping the countersink perpendicular to the axis of the hole and guessing how deep to go. Came out pretty decent as the rivets sit both flat and flush. The need for the four flush rivets was necessitated by the elevator horn getting riveted on top of them, like so.  Next I riveted the rest of the right elevator skeleton together.  There was one little hiccup today. The two ribs that form the tip of the elevator would not allow me to use my hand powered rivet squeezer to set the rivets so I just powered up the air compressor (as quietly as possible of course) and used the gun and bucking bar to set these bad boys. I made it to the fourth rivet and then the gun get away from me. I don't even get to call this a smiley face because the gun jumped completely off of the rivet head and landed right where you see the perfect circle next to the second rivet from the left on the bottom row. It just looks like a scratch in the paint now but when it first happened it left a pretty wicked dent. The good thing about metal is that it's bendy. To fix this I put the flush set in the rivet gun (flat like the face of a hammer) and held the bucking bar tightly behind the dents and pounded the ribs back to flat. Then I continued to set the rest of the rivets. 
|
|||||
| Thanks for visiting! | Last Update: 25 May 2012 |