|
 |
||||
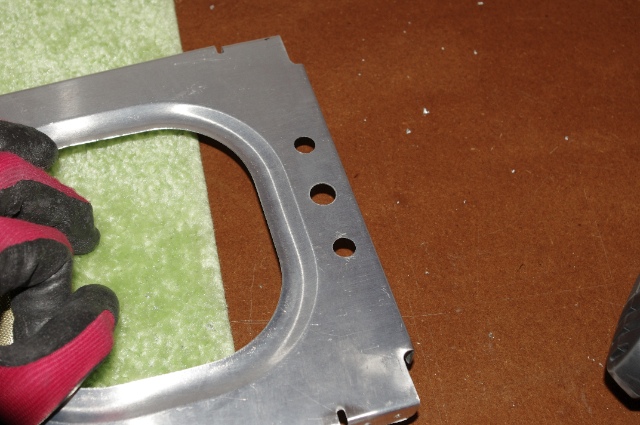
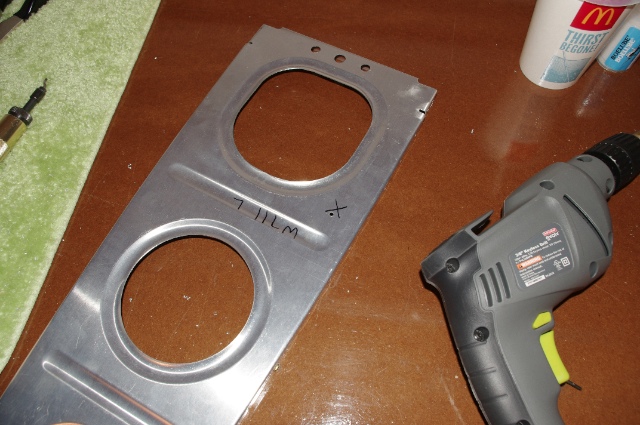
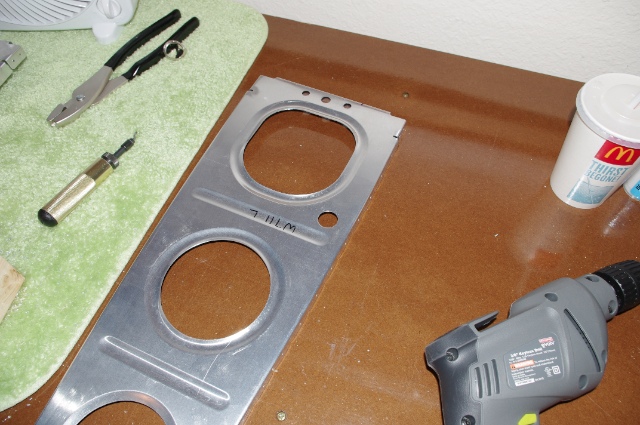
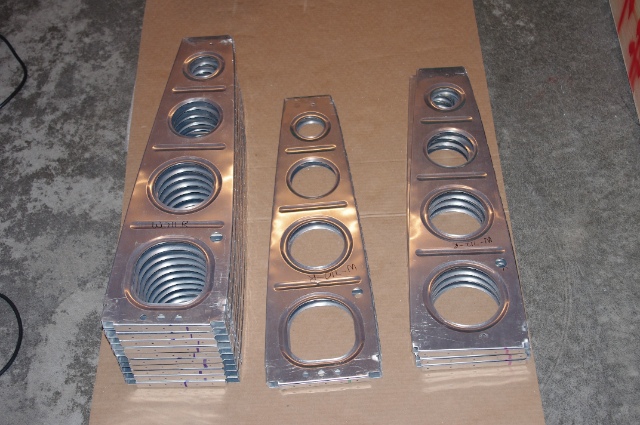
Today was not as productive as I wanted to be, probably because I stood there and stared at all the ribs for about 20 minutes trying to think if I had them labeled correctly and if I was drilling the holes in the right places. The past few days I've been looking and thinking about how to plumb the wings as far as tubing and wires go. Some people do conduit, some enlarge the tooling holes, and some do a combination of both. I'm not entirely sure what I want and where so I just did all of them since it is much easier now than after the wings are together. If I end up not using some holes, then I will have some extra lightening holes. Here I have enlarged both of the tooling holes to 3/8" and left the middle hole at 7/16" for the pitot line. The two 3/8" holes can hold an AOA line or the pitot heat wires or a stall warning or whatever else needs to run through here.  Next, I drilled a pilot hole for the 3/4" conduit hole. I drilled one in a left and right-handed rib, then used those as a template for all the others. The left-handed rib backed up to all the other right-handed ribs so I could match drill the hole and get the conduit holes to line up and vice versa. The "X" is so I would know that I had put the pilot hole on the correct (bottom) half of the rib as the are perilously close to symmetric.  Here is the rib after putting the 3/4" conduit hole in. Edge distances all look good and it is in between rivet holes so it shouldn't hamper bucking those too much.  Here are all three "flavors" (that's what the instructions call them) of ribs with plumbing holes drilled and deburred. One more rib prep step down! The rib prep steps have seemed to multiply but I think this is the last one as even the direction say that they are ready to get drilled to the spars! 
|
|||||
| Thanks for visiting! | Last Update: 25 May 2012 |